How do you remove a cutting wheel?
How to remove a cutting wheel?
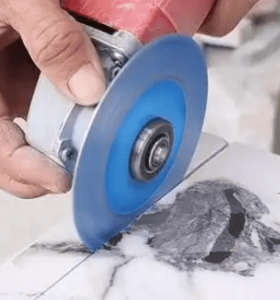
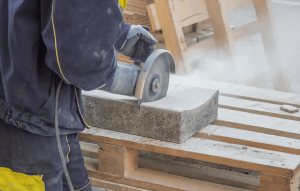
Removing a Stuck Angle Grinder Cutting Disc with Just a Wire – No Matter How Tight, It Comes Off Easily!
This cutting disc shattered and got jammed—completely stuck and impossible to remove.
Here’s how to remove it effortlessly:
- Straighten the Wire:
- First, straighten a piece of sturdy wire.
- Prepare Two Drill Bits:
- Grab two drill bits (or similarly strong metal rods).
- Attach the Wire to the Drill Bits:
- Securely tie the wire between the two drill bits, forming a makeshift handle.
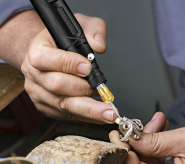
- Insert and Leverage:
- Insert the drill bits into the notches of the grinding disc’s retaining nut.
- Then, use a screwdriver as a lever—apply gentle force, and the nut will loosen instantly!
That’s it! With this simple trick, even the most stubborn disc can be removed in seconds. 🛠️💡
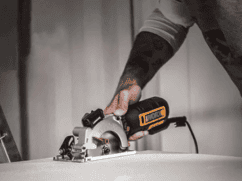
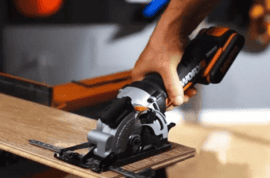
How to Replace the Saw Blade on a Cutter? Teach You How to Easily Change the Saw Blade of a Cutter!
The cutter is an indispensable tool in daily work, but after prolonged use, the saw blade is bound to wear out. A dull saw blade not only affects work efficiency but may also pose safety hazards. Don’t worry—today, Brother Hao will guide you step-by-step on how to replace the saw blade of your cutter, giving it a new lease on life!
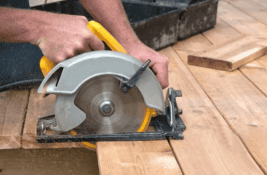
1. Prepare Before Replacement
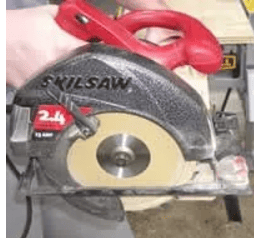
First, ensure the cutter is turned off and completely disconnected from the power source to avoid the risk of electric shock during the replacement process. Next, wipe the surface of the cutter clean with a cloth to remove dust and metal debris. Finally, place the cutter steadily on a flat workbench for subsequent operations.
2. Remove the Old Saw Blade
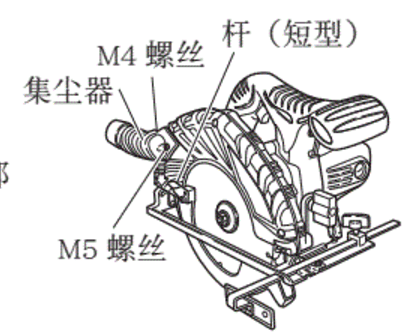
Now, let’s start removing the old saw blade. First, locate the saw blade plug and gently remove it. Then, carefully loosen the fastening screws with a wrench, applying moderate force to avoid damaging the screws or the saw blade. Finally, remove the old saw blade from the cutter.
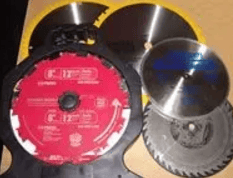
After removing the saw blade, don’t forget to inspect its teeth and sides. If you notice severe wear on the teeth or uneven tooth spacing, it means you need to replace it with a brand-new saw blade. Otherwise, continuing to use a worn blade will affect cutting performance and may even lead to safety issues.
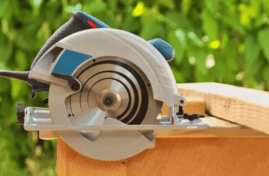
3. Install the New Saw Blade
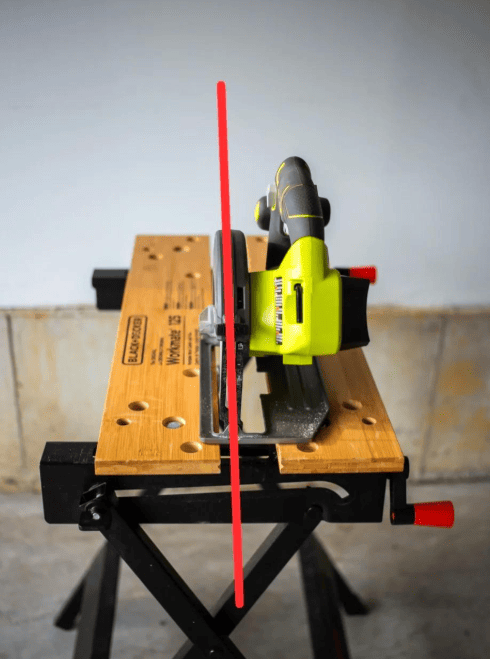
Next is the process of installing the new saw blade. First, ensure the tooth spacing and direction of the new saw blade match those of the old one. Here’s a handy tip: the tooth direction of the saw blade should be opposite to the rotation direction of the cutter to ensure optimal cutting performance.
Then, gently place the new saw blade onto the cutter and secure it firmly with screws. When tightening the screws, apply moderate force—avoid making the blade too loose or overly tight, as excessive force could deform the saw blade.
4. Test the New Saw Blade
After installing the new saw blade, don’t rush to put it to use. First, reconnect the power, turn on the cutter, and let it run freely for a while. It’s recommended to let it idle for 10–15 minutes while closely observing the operation of the new saw blade for any unusual noises or vibrations. If any issues arise, stop the cutter immediately and troubleshoot.
Now, you’ve successfully replaced the saw blade of your cutter! Doesn’t it feel like your cutter is as good as new? Brother Hao reminds you to always prioritize safety when replacing saw blades—protect yourself and the equipment to avoid accidents.