What Do You Not Use a Hammer Drill For?
You absolutely should not use a hammer drill for tasks involving brittle surfaces like tiles, metalwork, reinforced concrete, soft or overly sticky soils, extremely hard rock, deep drilling, or when precision or safety protocols cannot be strictly followed. Hammer drills excel at powering through tough masonry like brick, concrete blocks, and stone by combining rotational force with rapid, short hammering blows. However, this very impact mechanism makes them unsuitable and often destructive for numerous other materials and situations. Understanding these limitations is crucial to avoid damaging your workpiece, your tools, and potentially injuring yourself.
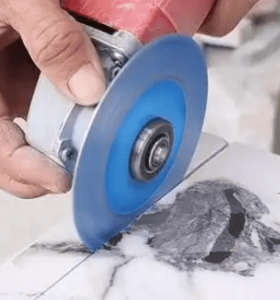
Never Use a Hammer Drill on Tiles or Other Brittle Materials
Tiles (ceramic, porcelain), glass, polished stone surfaces, plasterboard (drywall), and similar brittle materials are prime candidates for disaster when attacked by a hammer drill. The fundamental issue lies in the hammering action. Instead of cleanly cutting through the material like a standard drill bit, the hammer drill’s mechanism pounds the bit forward with thousands of impacts per minute. Brittle materials lack the flexibility to absorb this shock. The concentrated, percussive force easily causes cracks to radiate outwards from the drill point, often resulting in the tile or surface shattering entirely, sometimes spectacularly. This isn’t just unsightly; it ruins the material and potentially the substrate underneath, requiring costly replacement.
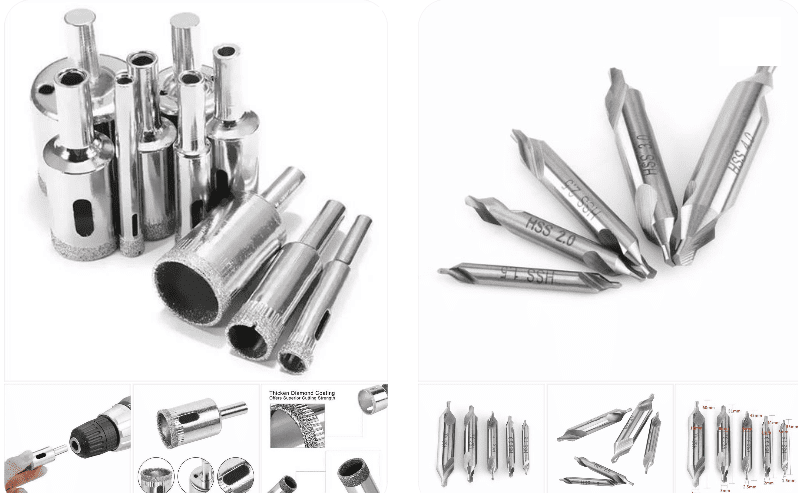
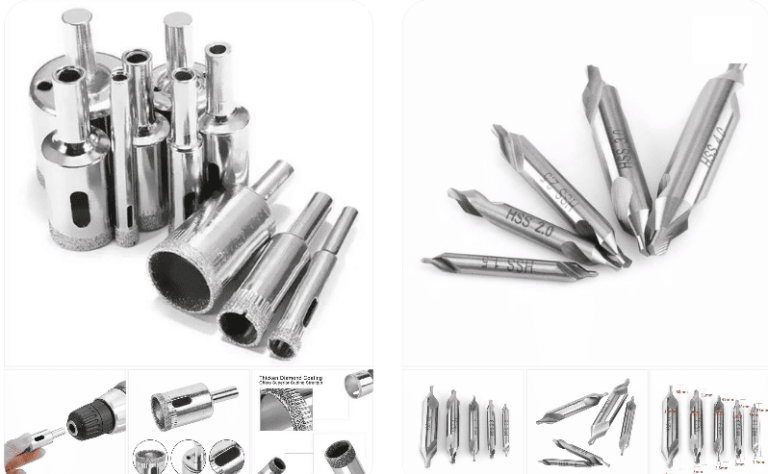
If you must drill into tile – for example, to install a towel rail or toilet paper holder – you need a completely different approach. Always turn off the hammer function on your drill (if it’s a combi drill) or use a standard drill/driver. Crucially, use a specialised tile drill bit. These bits typically have a spear-pointed or carbide tip designed specifically to score and cut through the hard glaze without skidding or cracking the tile. Start at a very low speed, applying gentle, consistent pressure. Marking the spot precisely with tape or a centre punch can help prevent the bit from wandering on the smooth surface. Sometimes, starting with a very small pilot hole can also reduce the risk. Patience and the right tools are key; brute force from a hammer drill guarantees failure.
Never Use a Hammer Drill for Metal
Metal requires precise cutting, not hammering. Using a hammer drill on metal sheets, pipes, or structural members is a recipe for poor results and damaged equipment. The hammering action is counterproductive here. Firstly, it rapidly dulls and can even break standard metal drill bits, especially twist bits. The constant pounding damages the sharp cutting edges. Secondly, and perhaps more importantly, the impact makes it incredibly difficult to maintain precise control over the drill. The bit tends to skitter across the hard metal surface before biting, and once drilling starts, the hammering can cause the bit to wander off course, creating an oval, oversized, or poorly positioned hole – a problem known as “walking” or “wandering.” This lack of precision is unacceptable for most metalworking tasks where accurate hole placement and size are critical.
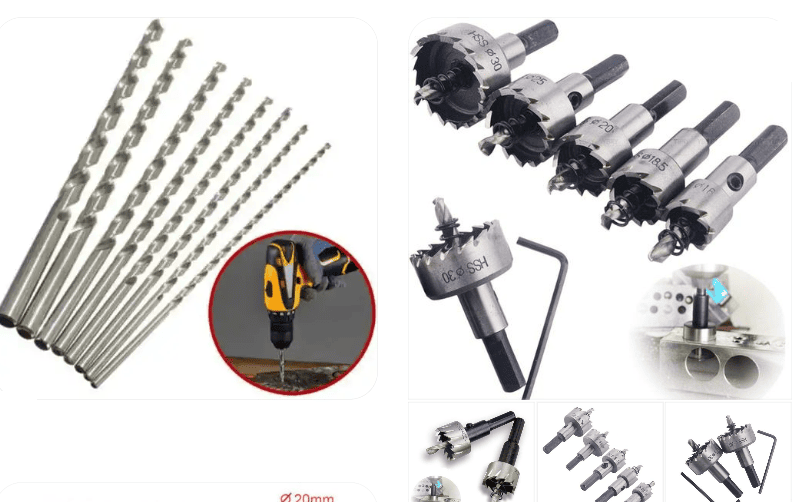
For drilling metal effectively and cleanly, always use a standard corded or cordless drill/driver with the hammer function disengaged. Crucially, employ high-speed steel (HSS) or cobalt drill bits specifically designed for metal. These bits have geometry optimised for cutting metal shavings. Using a centre punch to create a small indentation helps the bit start accurately. Applying a suitable cutting fluid or oil significantly reduces friction, keeps the bit cooler, prolongs its life, and results in a smoother, cleaner hole. For larger holes or thicker metal, a step drill bit or a hole saw might be more appropriate, but again, always used without hammer action.
Never Use a Hammer Drill on Reinforced Concrete
While hammer drills are great for plain concrete or concrete blocks, they hit a wall (literally) when encountering reinforced concrete structures like foundations, beams, columns, or structural slabs. The problem is the hidden steel rebar (reinforcement bars) within the concrete. A standard hammer drill lacks the sophisticated technology to detect or avoid this steel. When the drill bit hits a rebar, several bad things happen: The steel instantly blunts or breaks the masonry bit. The drill itself can jam violently, potentially twisting in your hands or damaging its internal gears and motor due to the sudden, immense resistance. At best, you’ll stall and ruin your bit; at worst, you risk serious injury and costly tool repair.
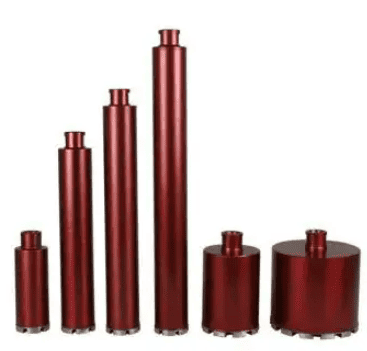
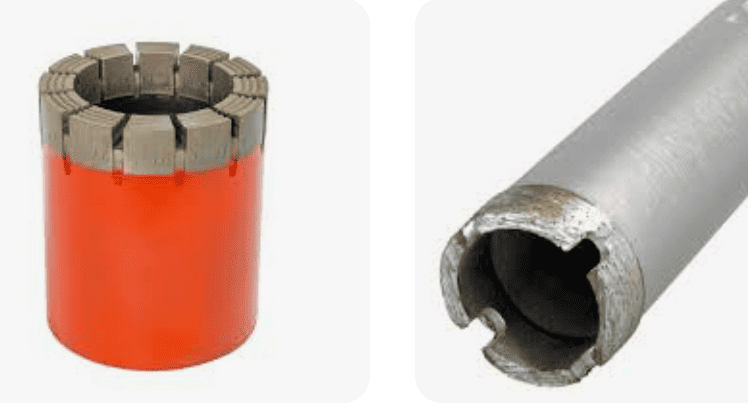
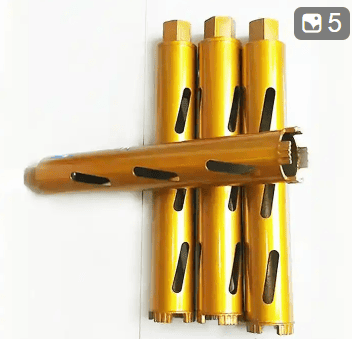
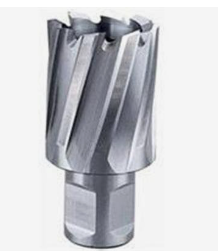
The correct tool for drilling into reinforced concrete is a rotary hammer drill (often just called a rotary hammer or SDS drill). These are significantly more powerful than standard hammer drills. Crucially, many rotary hammers feature an electronic clutch or “rebar avoidance” system. This technology senses the sudden change in resistance when hitting steel and either disengages the hammer mechanism or stops the rotation momentarily, preventing damage to the bit and tool. They also use SDS-Plus or SDS-Max shank bits that are much more robust and securely held, transferring the immense impact energy efficiently. Rotary hammers also have a “drill only” or “hammer only” mode if needed. For serious rebar penetration or large diameter holes, core drills are the professional solution.
Never Operate a Hammer Drill Unsafely or Uncontrollably
The power of a hammer drill demands respect and strict adherence to safe operating practices. One critical rule is never wear loose clothing or gloves while operating one. The high rotational speed and torque mean that any loose fabric or glove material can instantly get caught in the spinning chuck or drill bit. This can pull your hand violently into the machinery, causing severe lacerations, degloving injuries, or broken bones in an instant. Your grip and control are also significantly better with bare hands on the drill’s handles.
Maintaining steady, controlled pressure is paramount. Avoid the temptation to lean heavily or “jab” the drill forward, especially as it breaks through the back of the material. Pushing too hard can cause several problems: It can overheat and damage the drill motor. It can snap the drill bit, especially if it binds. Most dangerously, if the bit suddenly punches through or hits an obstruction, the uncontrolled force can cause the entire drill to kick back violently, potentially wrenching it out of your hands or causing you to lose balance and fall. Always let the drill’s own weight and the hammering action do the majority of the work, applying only moderate, consistent forward pressure. Ensure your stance is stable and you have a firm, two-handed grip on the drill. Always wear appropriate safety glasses and hearing protection, as hammer drilling generates significant dust and noise.
Never Use a Hammer Drill in Unsuitable Geological Conditions (Hard Rock, Deep Holes, Very Soft Soil)
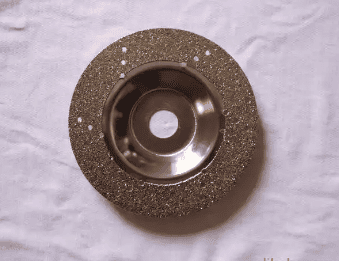
While primarily designed for construction drilling in masonry, the core impact principle applies to larger geological/geotechnical percussion drilling rigs. Understanding these limitations helps illustrate why the hammer mechanism isn’t universal. Extremely hard rock formations (like granite or quartzite) present a major problem. The hardness of the rock can exceed the impact energy delivered by the hammer drill (or rig). Instead of effectively fracturing the rock, the drill bit simply bounces off or dulls extremely rapidly, making progress painfully slow or impossible, and causing excessive wear on the drill bit and machinery. Harder rock requires different methods, like diamond core drilling or powerful rotary crushing bits.
Drilling very deep holes is another challenge unsuitable for standard hammer drill mechanisms. As the hole gets deeper, energy is lost through friction along the drill rods. The percussive blows delivered at the surface become significantly weaker by the time they reach the bit at the bottom of a deep hole. This drastically reduces drilling efficiency and penetration rate. Deeper drilling typically requires down-the-hole (DTH) hammers, where the hammer mechanism is located right behind the bit at the bottom of the hole, or rotary methods with heavy drilling mud for cleaning and stabilization.
Conversely, very soft, loose, or unconsolidated soil (like dry sand, silt, or loose gravel) is also problematic. Instead of fracturing, the soil simply compresses or flows around the bit. The impact energy is absorbed without effectively breaking up material. Worse, the bit and drill rods can become easily stuck or “bridged” in such material, making retrieval difficult and potentially causing the hole to collapse. Drilling in these conditions usually requires augers (like in an earth drill) for soil removal or rotary methods with casing to stabilize the hole walls.
Never Use a Hammer Drill on Certain Problematic Soil Types
Building on geological limitations, specific problematic soil types at a smaller scale also rule out effective hammer drill use. Highly compacted or cemented soils act almost like soft rock. They possess high density and shear strength, making them very resistant to the fracturing action of the hammer blows. Drilling becomes slow and laborious, putting immense strain on the drill motor and transmission, and rapidly wearing down bits. Sticky, cohesive clays present a different nightmare. As the bit hammers and rotates, this clay doesn’t break into clean fragments; instead, it gums up. It packs tightly around the bit’s flutes (the grooves designed to carry debris out of the hole) and can even stick to the sides of the drill rods. This prevents the removal of cuttings from the hole bottom. The bit quickly becomes clogged (“balled up”), friction increases massively, and the drill can get completely stuck, requiring difficult extraction. Augers or specialized clay-cutting bits on a rotary drill are needed here.
Understanding the Hammer Drill’s Place: Strengths and Weaknesses
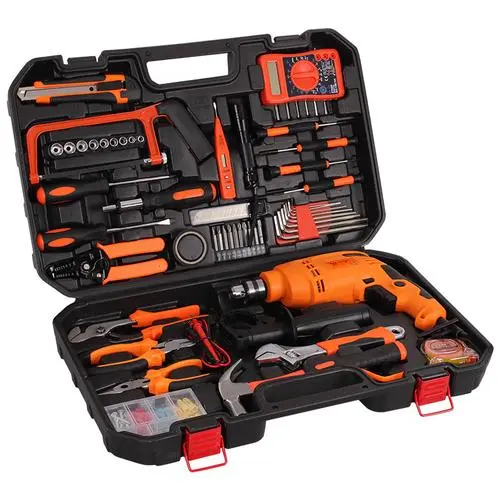
Hammer drills are incredibly useful tools within their specific domain. Their key advantages are:
- Speed in Masonry: They significantly outpace standard drills in brick, concrete block, and softer stone.
- Relatively Affordable Access: They provide a cost-effective way to tackle light to medium masonry tasks compared to rotary hammers.
- Versatility (Combi Drills): Many models combine hammer drilling, standard drilling, and screwdriving functions in one tool.
However, their limitations, as extensively detailed, are critical to recognize:
- Material Restrictions: Destructive on brittle surfaces, ineffective/damaging on metal, inadequate for reinforced concrete.
- Geological/Soil Restrictions: Ineffective in very hard rock, deep holes, loose soils, compacted soils, and sticky clays.
- Precision Limitations: The hammering action inherently reduces fine control compared to a standard drill.
- Safety Demands: Require strict adherence to safety protocols due to high torque, kickback risk, and entanglement hazards.
- Vibration and Noise: Generate significant vibration (potentially leading to Hand-Arm Vibration Syndrome with prolonged use) and loud noise, requiring protective equipment.
Conclusion
Knowing what not to use a hammer drill for is just as important as knowing its proper applications. Respecting the limitations related to brittle materials, metal, reinforced concrete, unsafe operation, and unsuitable ground conditions prevents costly damage, ensures project success, and, most importantly, keeps you safe. Always choose the right tool for the material and the job at hand – when in doubt, turn off the hammer function or reach for a more appropriate drill.