How to attach core drill bit?
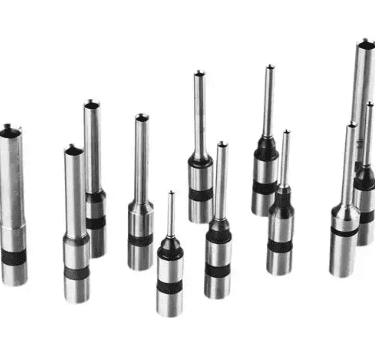
The installation steps for hollow drill bits vary depending on the shank type. The core process includes selecting the compatible shank type, aligning the fixing components, tightening the screws step by step, and conducting precision checks after installation. Common shank types can be divided into three categories: right-angle shank, universal shank, and four-hole shank. During installation, special attention should be paid to positioning calibration and cooling system configuration.
Installation Methods for Different Shank Types
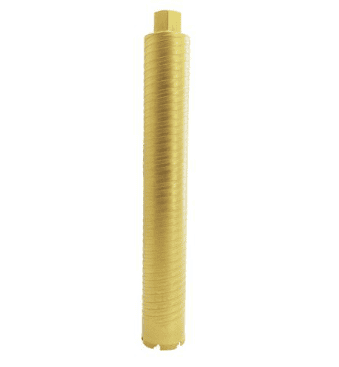
- Right-Angle Shank Installation
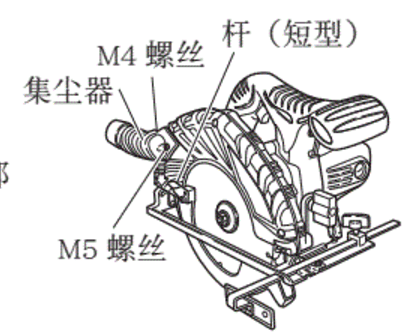
- Align the two flat surfaces of the drill bit with the screw holes on the spindle.
- Use a hex key to pre-tighten the screws, leaving a 0.2–0.3 mm gap.
- Gently rotate the drill bit left and right to ensure vertical alignment before fully tightening.
- Universal Shank Installation
- Align and directly insert the bit into the chuck’s steel balls (suitable for Nitto models).
- Alternatively, secure the flat surface vertically using hex screws.
- Four-Hole Shank Installation
- Rotate the safety ring clockwise until it locks in place.
- Insert the drill shank and rotate it slightly to allow the steel balls to enter the positioning holes.
Key Auxiliary Operations
- Cooling System Configuration: Insert the cooling tube into the drill shank’s cooling hole. Internal cooling devices are recommended as the first choice.
- Precision Check: Use a dial indicator to measure radial runout; the error should be less than 0.05 mm.
Safety Operating Guidelines
- Power off and inspect the drill bit for integrity before installation.
- Wear protective gear and use an iron hook to remove metal chips.
- Stop the machine immediately if the drill bit jams.
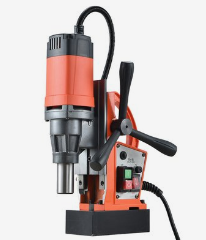
Magnetic Drill Guide: Detailed Installation and Maintenance of Hollow Drill Bits
In magnetic drilling operations, drill bit selection is crucial. Hollow drill bits, as a commonly used type, are favored by many users. However, improper installation may lead to machine damage and other adverse effects. Therefore, this article introduces the correct installation method for hollow drill bits to ensure safe and efficient use of magnetic drills.
01 Magnetic Drill Guide
△ Installation Method and Precautions
The first step is to correctly install the hollow drill bit on the magnetic drill. Note that installation methods may vary depending on the magnetic drill model. Taking a right-angle shank hollow drill bit as an example, align the two flat surfaces of the shank with the two screw holes on the spindle, then tighten them with a hex key while leaving a 0.2–0.3 mm gap. Next, gently rotate the drill bit left and right to ensure vertical alignment before fully tightening.
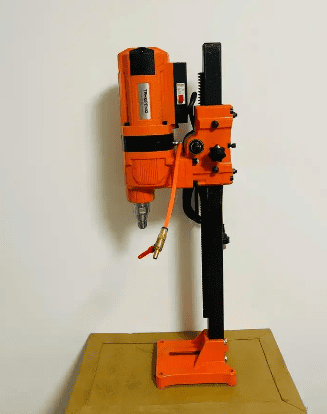
First, raise the motor to the highest point of the magnetic drill’s travel range and use the travel control lock (if unavailable, secure the machine head using other methods) to prevent the guide rail from sliding down. This step ensures the guide rail does not descend, effectively protecting the hollow drill bit from damage.
Unveiling the Installation and Usage Precautions for Magnetic Drill Hollow Drill Bits
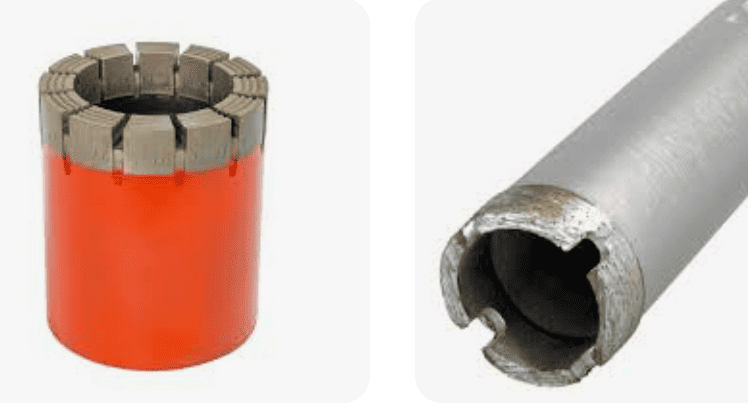
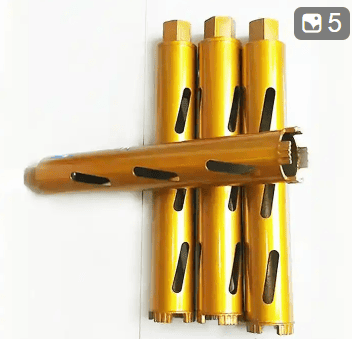
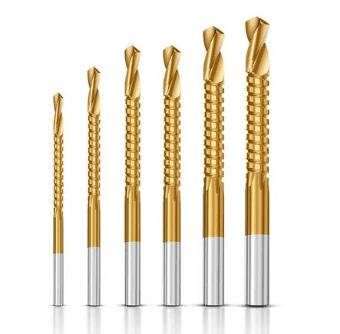
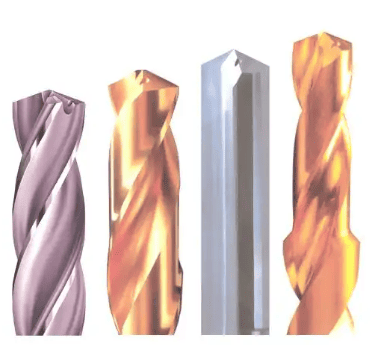
Next, we will delve into the installation and usage of hollow drill bits for magnetic drills, particularly their compatibility with drill bushing reaming fixtures. These drill bits are designed with a hollow structure and often come with Morse taper shanks (MT2, MT3, MT4), making them suitable for various machine tools such as magnetic drills, radial drills, vertical bench drills, milling machines, and boring machines.
The cooling methods for magnetic drill hollow drill bits are mainly divided into external cooling and internal cooling.
External Cooling Method
Let’s further explore the cooling principles of the external cooling method and its application in magnetic drill hollow drill bits.
Key Points for Using Hollow Drill Bits in Magnetic Drills
Before drilling, ensure the tool is properly installed without looseness or improper clamping. When using a magnetic drill, make sure there are no metal chips under the magnetic base, the adsorption surface is flat, and the machine is stable. Maintain sufficient cooling throughout the drilling process without interruption, as stopping may cause tool edge chipping. Start the feed smoothly, and after cutting 1–2 mm, the feed speed can be slightly increased. Withdraw the bit slowly when retracting.
If the machine stalls during drilling, immediately cut off the power, manually rotate the tool slightly in reverse to disengage the cutting edge, then lift the motor and remove the tool. Only resume operation after confirming no issues. For deep drilling with high resistance, retract the bit multiple times to assist chip removal.
We hope this information is helpful. For further inquiries, feel free to contact us.
Friend Links: you may also interest in, click if you want: 380V EV Charger 7KW EV Charger Type 1 &2 Floor-mounted ; double head filling machine; Will vacuum seal bags melt in boiling water?