How to tighten blender blade?
How to tighten blender blade?
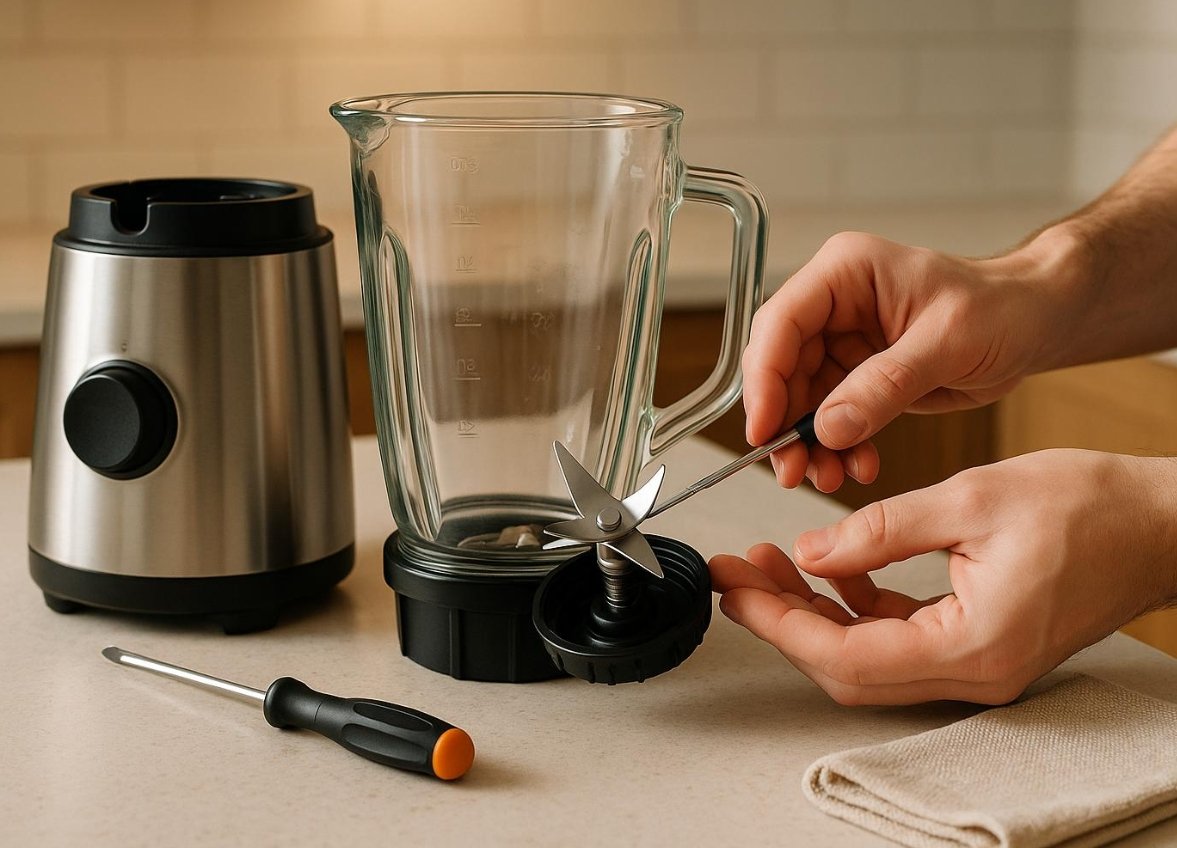
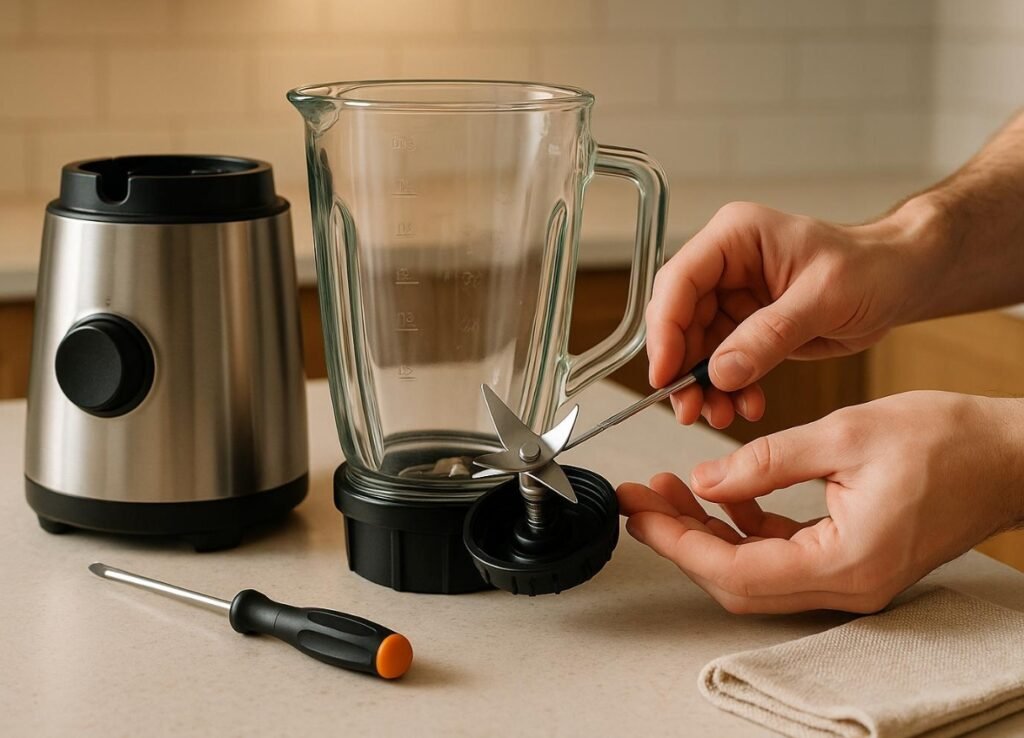
Tightening a loose blender blade must start with complete power disconnection to avoid accidental startup and sharp blade scratches, and you can follow standardized preparation steps and targeted tightening methods for different blade structures to firmly fix the blade, eliminate shaking and abnormal noise, and restore stable blender operation. Long-term high-speed vibration during blender operation often causes the blade fixing screw, nut or buckle to gradually loosen, leading to blade shaking, uneven stirring, ingredient leakage and even motor jamming. Mastering scientific tightening procedures and post-tightening verification methods can effectively solve loose blade problems and extend the service life of blender accessories and the whole machine.
Full Pre-operation Preparation for Blade Tightening
Absolute power safety is the primary prerequisite for all blade tightening operations. Users need to completely unplug the blender power cord from the socket instead of merely turning off the switch, thoroughly cutting off all power supply to prevent accidental electric start during manual blade adjustment. After power disconnection, empty all residual ingredients, fruit pulp and ice slag inside the blending cup, separate the entire jar body from the motor host, and place it stably on a flat and clean operating table. This step avoids ingredient overflow pollution during operation and eliminates potential safety hazards caused by accidental machine startup.
Cleaning the contact thread and shaft surface is a key preparatory step to ensure firm blade occlusion. After long-term use, food residue, sticky fruit juice and water stains will accumulate on the blade seat thread and metal rotating shaft. These tiny sundries will form gaps between fixed parts, resulting in false tightening and repeated loosening after a short time. Users need to wipe the thread mouth, gasket contact surface and metal shaft body with a clean dry cloth to remove all dirt and water stains, ensuring the fitting surfaces are dry, smooth and free of foreign matter for precise clamping.
Detailed accessory inspection is essential to guarantee the tightening effect and avoid secondary damage. Before formal tightening, carefully check the central fixing screw or locking nut, as well as the matching spring gasket. Observe whether the thread is slippery and worn, whether the gasket is deformed, fatigued or broken, and whether the blade hole is distorted. Slippery threads and invalid gaskets cannot provide stable locking force, even if forcibly tightened, they will loosen again quickly. Damaged accessories need to be replaced with new matching parts in advance to ensure the long-term firmness of blade fixation.
Standard Verification and Daily Maintenance After Tightening
Manual no-load inspection is the first step of post-tightening verification. After completing all tightening operations, rotate the blade manually for several consecutive circles to comprehensively check the operating state. Qualified tightening effect features smooth and flexible blade rotation without stagnation, abnormal friction and offset shaking. If there is jamming or shaking, it indicates uneven clamping or incomplete locking, and the blade needs to be readjusted and tightened again to eliminate hidden dangers.
Machine no-load operation test can further verify the stability of the tightening effect. Reinstall the cleaned and tightened blending cup back on the blender host, connect the power supply for short-time no-load operation. Observe the overall running state of the blender, confirm there is no abnormal vibration, jitter and strange friction noise during blade rotation. Stable and silent no-load operation proves that the blade is firmly fixed and the clamping structure is balanced, which can meet the needs of formal ingredient stirring and crushing work.
Regular daily inspection is the key to long-term maintenance of blade fastening state. The blender will produce continuous high-frequency vibration during long-term crushing, stirring and grinding work, which may gradually loosen the fixed screws, nuts and buckles. Users need to regularly check the blade fastening state after daily use, timely find and slightly tighten loose parts, avoid excessive loosening that leads to blade shaking, uneven stirring, motor overload and blade edge wear, and maintain the long-term stable working performance of the blender.
Supplementary Q&A
Q: I tightened the blade screw firmly, but it loosens again after several uses, what is the reason?
A: This situation is mostly caused by worn slippery threads, failed spring gaskets or residual dirt on the fitting surface. Residual gaps will lead to virtual tightness, and high-frequency vibration will cause re-loosening. You need to clean the thread surface again and replace the aging gasket or slippery screw to achieve permanent firm locking.
Q: The blade feels stuck and unsmooth after tightening, how to adjust it correctly?
A: Excessive over-tightening or misplaced gasket installation will cause blade jamming. It is recommended to loosen the fixing parts slightly, readjust the gasket position and blade verticality, and re-lock moderately. Do not apply excessive force to avoid squeezing the gasket and causing rotation resistance.
Q: Will loose blade affect the blender’s normal service life?
A: Yes. Long-term loose blade operation will cause severe vibration, increase motor operating load, easily lead to motor overheating and aging, and cause unbalanced blade wear, resulting in reduced stirring fineness and even blade breakage in severe cases.
Final Verdict
In conclusion, tightening a blender blade must follow safe power-off preparation, surface cleaning and accessory inspection, and adopt targeted locking methods according to screw fixing, nut fixing, rotary buckle and quick-release clamping structures. Standardized tightening operations can thoroughly solve blade shaking and loosening problems, while manual rotation inspection and machine no-load testing ensure reliable locking effect. Regular daily fastening inspection and maintenance can avoid equipment failure and accessory wear caused by vibration loosening, effectively maintaining the efficient, stable and safe working state of the blender for a long time.
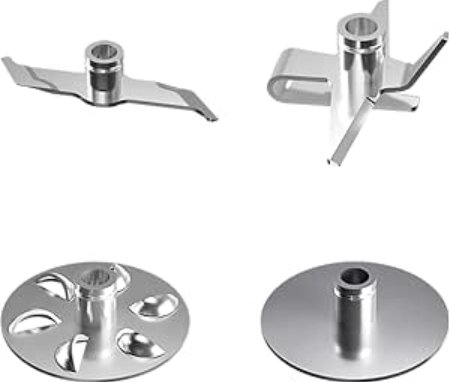
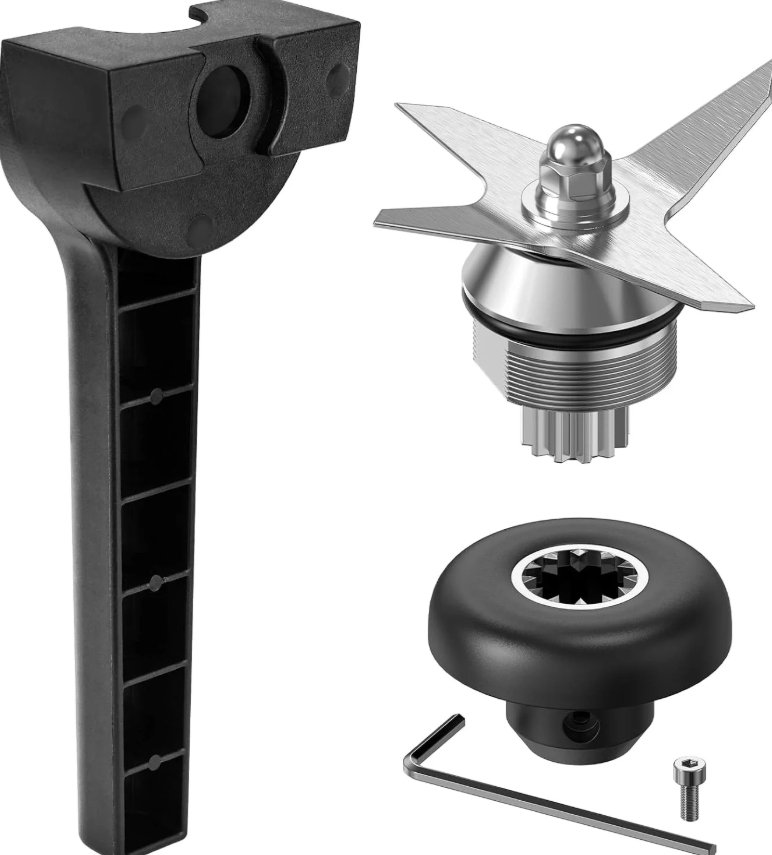
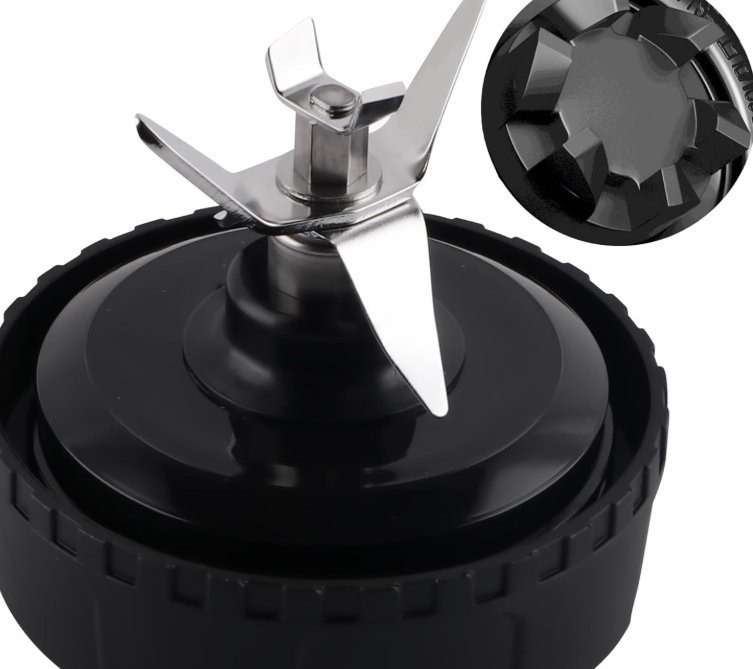
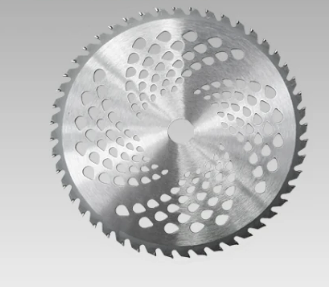
Blender Blade for Sale
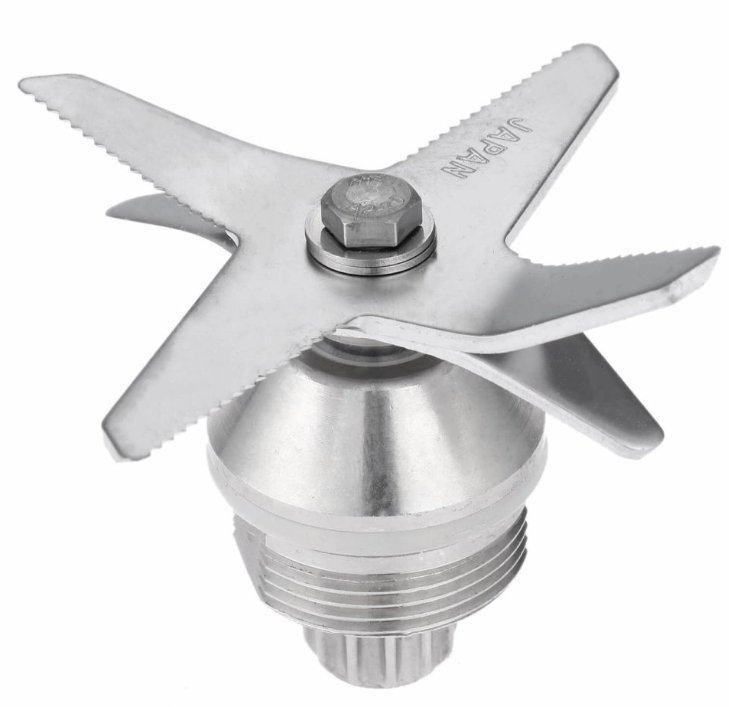
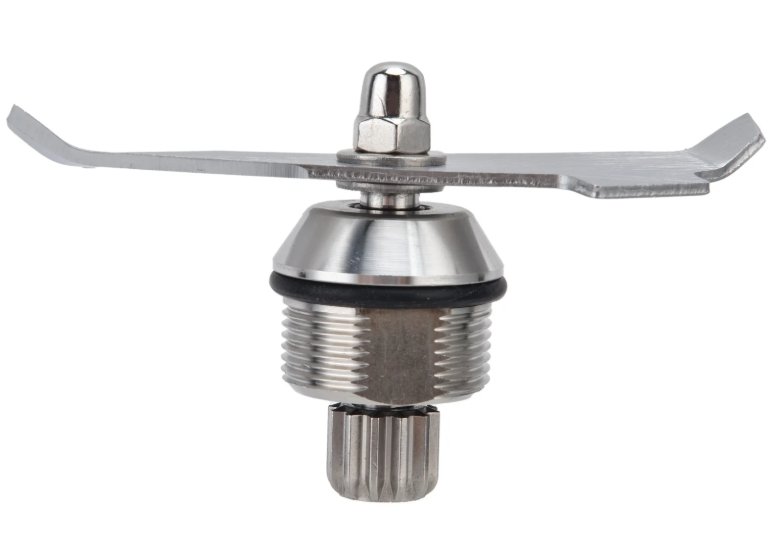
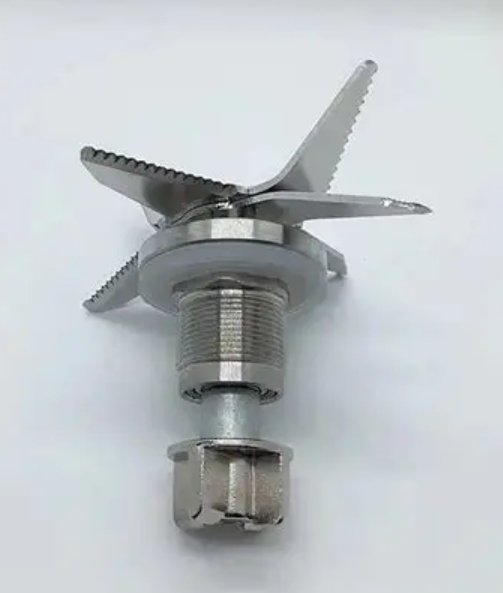
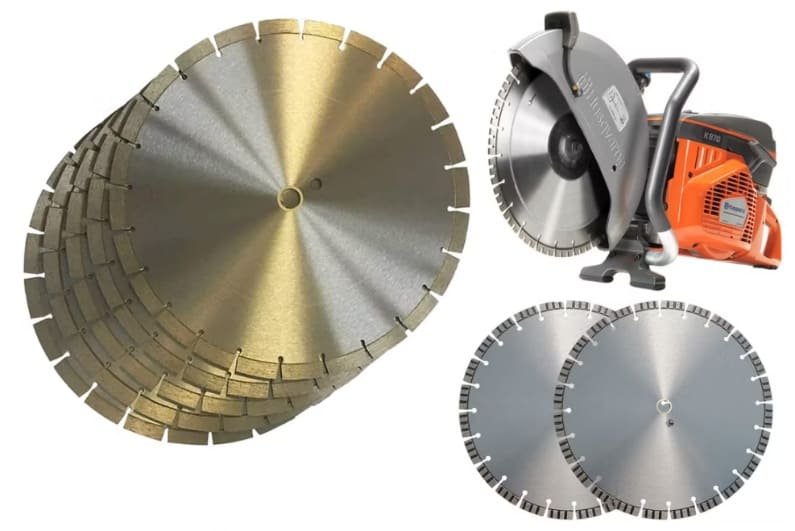
Diamond Blade for Sale

Demolition Hammer & Rotary Hammer for Sale
Angle
Welcome to call us
Contact Us to get quotation
Working Time: 8:00~17:00 Monday to Friday.
FAQ
Welcome to call us
Contact Us to get quotation
Working Time: 8:00~17:00 Monday to Friday.