How to Use a Demolition Hammer Correctly (Common Mistakes to Avoid)
How to Use a Demolition Hammer Correctly (Common Mistakes to Avoid)
Ignoring any of these three factors will result in low breaking efficiency, tool damage, or serious personal harm. Using a demolition hammer safely and effectively depends on thorough pre-work preparation, standard operating movements, and avoiding recurrent operator errors. When using tools like the Willa demolition hammer, many do-it-yourself homeowners and small contractors complain about weak impact power or frequent machine breakdowns, but the majority of issues are caused by poor preparation, incorrect operation habits, and neglected maintenance errors rather than flaws in the tool itself. In order to help you maximize tool performance while remaining completely safe on site, this article breaks down the whole demolition hammer process, explains each essential phase in simple terms, identifies common dangerous mistakes, and responds to frequently asked concerns.
Pre-Job Preparation Checklist
Since insufficient safety equipment, uninspected tool defects, or concealed risks on the site are the main causes of demolition accidents, every demolition activity must begin with careful pre-work preparation. Personal protective equipment, thorough tool inspections, and thorough work zone danger assessments are all part of the preparation process, and none of these three components can be omitted in order to save time.
When it comes to personal safety, you should wear a complete set of matching protective gear rather than simply some of it. A certified silica dust mask filters toxic concrete dust that causes long-term respiratory damage, an essential detail for indoor renovation projects; thick anti-slip shock-absorbing gloves reduce strong hand vibration and prevent sharp broken stone edges from cutting your palms; a hard hat prevents flying concrete fragments from striking your head during chiseling work; certified impact-resistant safety goggles prevent cement dust and sharp stone chips from scratching your eyeballs, which ordinary glasses cannot replace them.
To prevent unintentional startup, always unhook the power cord before inspecting any components for a thorough tool inspection. To ensure that the chisel bit is completely secured and tight, first draw the chisel shank firmly. Loose chisels will fly out during impact and injure people. Next, tighten any loose parts by scanning all body screws and side handle fasteners. Continuous vibration can quickly loosen minor parts and cause machine jams. Next, check the entire power cord for cracks, exposed copper wires, or damaged insulation. If there are any cable defects, the tool needs to be stopped right away to avoid shock and electric leakage.
Always unplug the power cord before examining any parts for a comprehensive tool check to avoid accidental startup. Draw the chisel shank hard first to make sure the chisel bit is tightly fastened. When an impact occurs, loose chisels will fly out and hurt individuals. Next, check all side handle fasteners and body screws to tighten any loose pieces. Constant vibration can lead to machine jams and the rapid loosening of small parts. Next, look for any fractures, exposed copper wires, or damaged insulation along the power cord. To prevent shock and electric leakage, the tool must be stopped immediately if there are any cable flaws.
Standard Correct Operation Specifications
Improper gripping, incorrect chiseling angles, excessive continuous work time, and negligent handling of specific hidden-wire locations will reduce your demolition efficiency and shorten the service life of your demolition hammer even with the best pre-work preparation. Stable body position, scientific chiseling techniques, appropriate work-rest cycles, and specific safety regulations for high-risk situations are all part of standardized operation, and every little detail directly affects your safety as well as the functionality of the instrument.
Stable weight distribution and vibration avoidance are the cornerstones of good grasping posture. In order to lower your center of gravity and withstand the tool’s powerful recoil without losing your balance during a strong impact, stand with your front foot forward and your back foot wide apart. After a long day of work, prolonged vibration concentrated on the wrist and tiger’s mouth can cause numbness, joint soreness, and even vibration-induced hand injuries. Therefore, keep your tiger’s mouth away from the front vibration zone of the tool body and use your secondary hand to firmly grasp the adjustable auxiliary side handle.
One major drawback for consumer-grade light-to-medium demolition hammers like the Willa model is that controlled working duration shields the motor from irreversible overheating damage. The typical cycle consists of 15 minutes of continuous breaking followed by a 3-minute full stop cooling break; do not leave the tool idle on the concrete surface during this rest interval; instead, lay it aside entirely. Extend cooling intervals to 4–5 minutes after every 30 minutes of operation if you’re taking on a large-scale patio or garage floor demolition project that takes hours of labor. When DIYers attempt full slab removal without planning breaks, they frequently make the error of running the hammer continuously for more than 45 minutes, which will burn the motor coil, damage internal piston parts, and void the tool warranty.
When chiseling places like kitchen wall slabs, old wall rehabilitation sections, and indoor basement flooring that may contain buried live wires, special safety precautions must be taken. Only grip the demolition hammer’s plastic-insulated handles when the chisel tip comes into contact with a potentially cable-filled area; do not touch any metal shell, metal auxiliary handle, or metal chisel shank at all. The plastic handle serves as insulation to prevent electric current from passing through your body if the chisel unintentionally punctures a live wire, however touching metal components creates a direct conductive channel that could result in a serious electric shock. To avoid unintentional penetration, always identify suspected pipeline zones before beginning work and reduce impact frequency while approaching these regions.
Common Mistakes & Practical Avoidance Methods
Particular safety measures must be followed while chiseling areas that might contain hidden live wires, such as kitchen wall slabs, old wall rehabilitation portions, and indoor basement flooring. Don’t touch any metal shell, metal auxiliary handle, or metal chisel shank at all; only grasp the demolition hammer’s plastic-insulated handles when the chisel tip touches a possibly cable-filled area. Always identify suspected pipeline zones before starting work and minimize impact frequency when approaching these areas to prevent inadvertent penetration.
Irregular operation mistakes When chiseling places like kitchen wall slabs, old wall rehabilitation sections, and indoor basement floors that may have buried live wires, specific safety precautions must be taken. Only grip the demolition hammer’s plastic-insulated handles when the chisel tip comes into contact with a potentially cable-filled area; avoid touching any metal shell, metal auxiliary handle, or metal chisel shank at all. The plastic handle of the chisel serves as insulation to prevent electric current from passing through your body in the event that it unintentionally punctures a live wire; however, striking metal objects creates a direct conductive channel that could result in a serious electric shock. To avoid unintentional penetration, always identify suspected pipeline zones before beginning work and decrease impact frequency while approaching these regions.
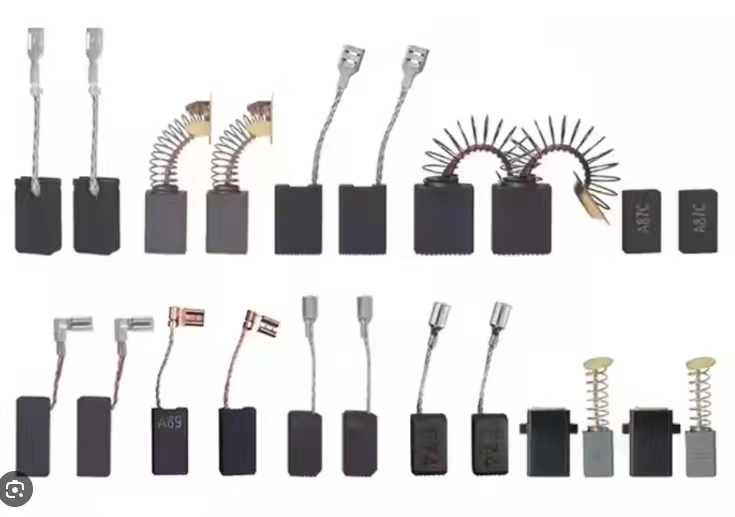
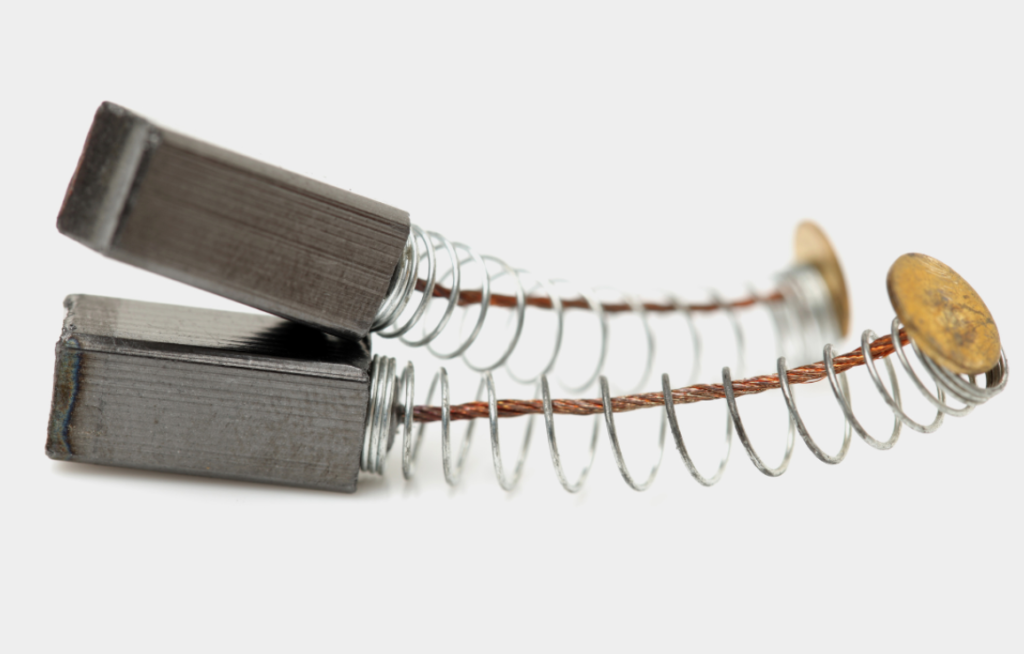
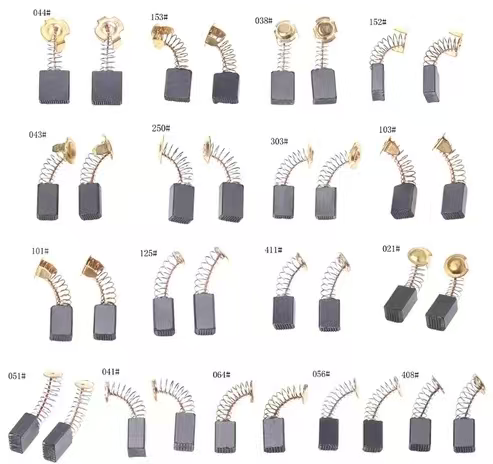
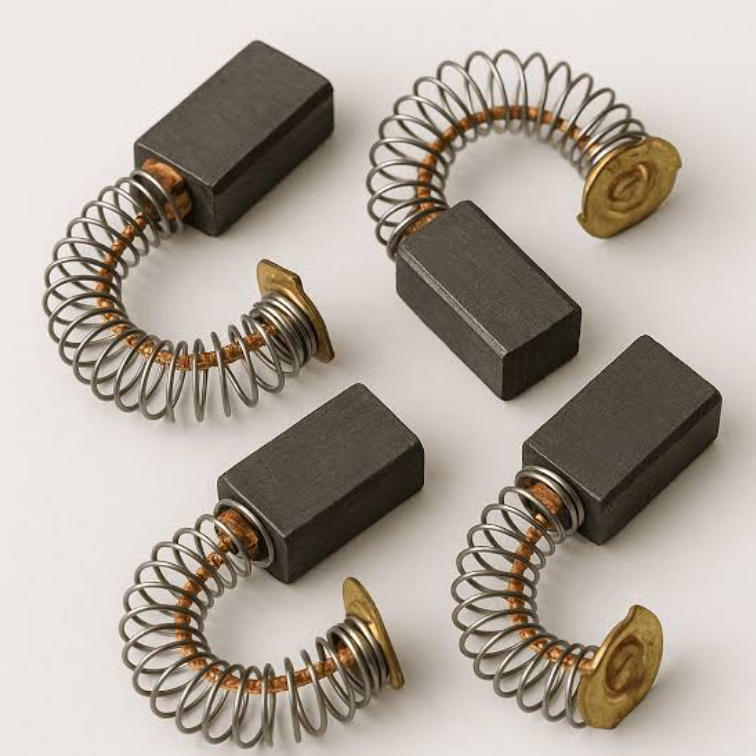
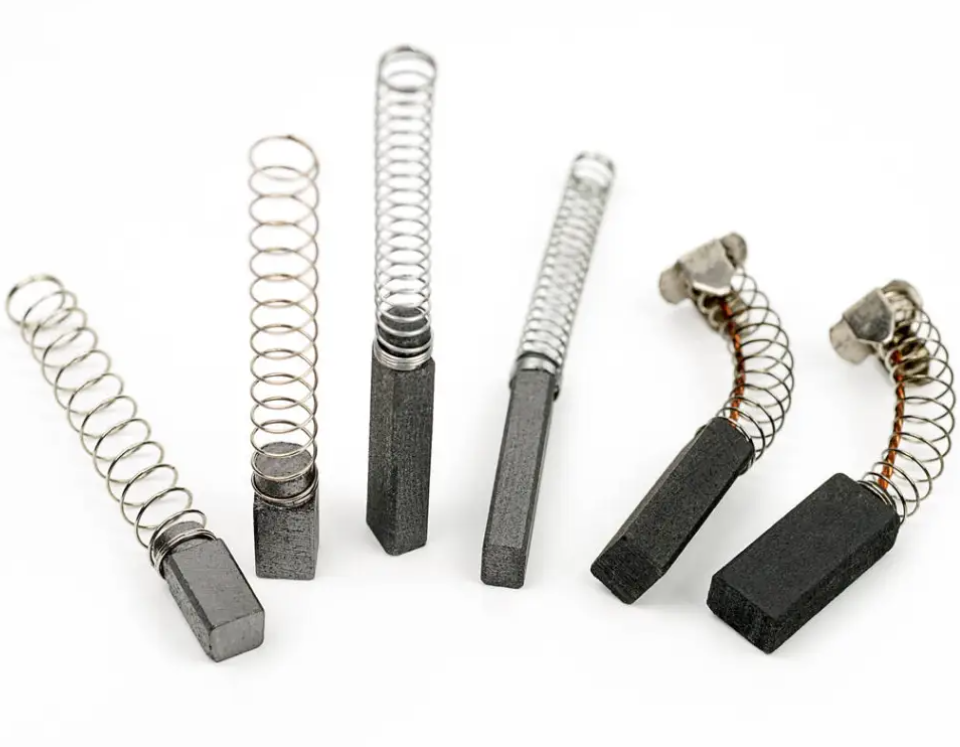
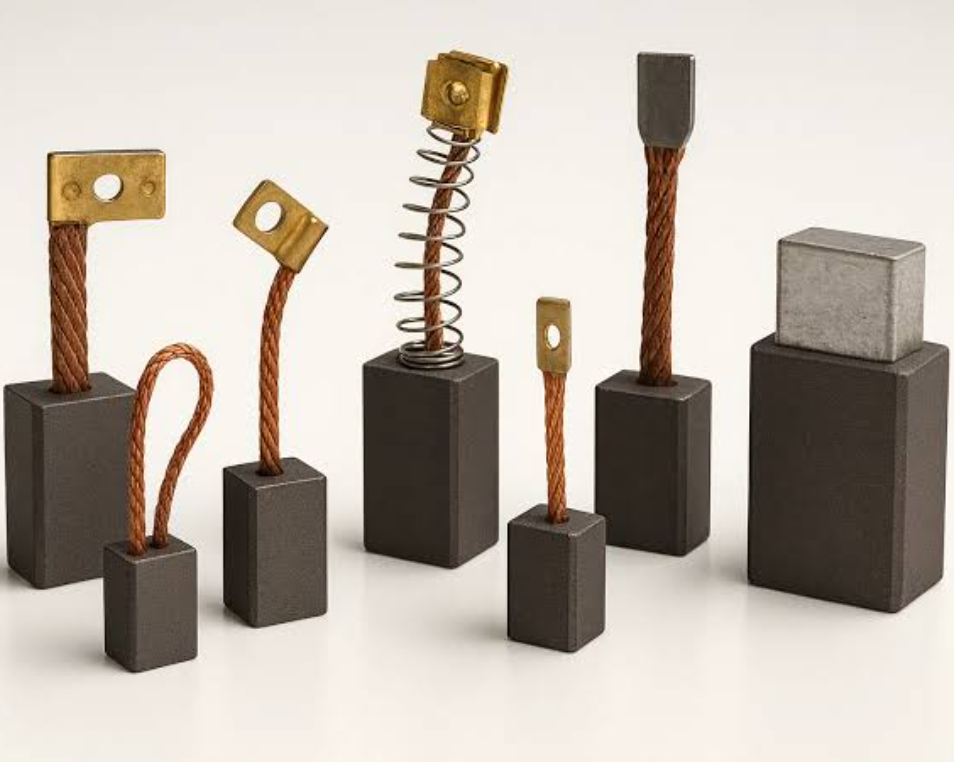
Improper tool maintenance mistakes One of the most common maintenance mistakes that affects impact performance is improper lubrication. Users either fill the gear chamber with too much lube or add grease that isn’t recommended by the manufacturer. Insufficient lubrication results in dry friction between gears and pistons, which quickly burns out key mechanical components; overfilled grease creates internal resistance that prevents the hammer’s impact cycle; and mismatched lubricating oil cannot withstand the high temperature of internal impact parts, resulting in stuck pistons and complete loss of striking force. After six months of consistent usage, schedule professional lubrication maintenance and closely adhere to the grease type and dose recommendations in the tool manual. Ignoring worn carbon brushes is another neglected maintenance issue that results in unpredictable impact power, which many users mistakenly perceive as poor tool performance.
Safety negligence mistakes Accidents and injuries at the site are frequently caused by several safety lapses. When starting, adjusting, or repositioning the tool, many operators carelessly direct the sharp chisel bit at coworkers, bystanders, or themselves. If the chisel escapes the lock holder, it will fly forward quickly and create penetrating wounds. When adjusting the instrument, always turn the chisel point toward the ground or empty walls. Using electric demolition hammers in moist, wet areas or close to flammable materials like paint, gasoline, and chemical solvents is a second serious safety hazard. While flying hot metal sparks from the chisel can ignite combustible liquids and cause fire or explosion disasters, water seeping into the tool body generates electric leakage threats.
Frequently Asked Questions About Demolition Hammer Use
Q1: Is it possible to break reinforced concrete with steel rebar using a mid-range demolition hammer like the Willa model?
A1: It cannot swiftly cut through embedded steel, but it can chip away the surrounding cement matrix around rebar. The motor is overworked and project time is greatly extended by constant pounding on strengthened portions. Instead of using consumer-grade electric demolition hammers on slabs thicker than five inches with strong rebar mesh, rent a hefty industrial breaker.
Q2: Even after a typical starting, why does my demolition hammer feel feeble and lack impact force?
A2: Factory flaws are rarely the cause of this problem. Worn carbon brushes, dull chisel bits, excessive human downward pressure during operation, inadequate internal lubrication, or motor overheating from continuous extended work cycles are common root causes. Before presuming the instrument has power issues, check these four criteria.
Q3: Is it safe to remove concrete from an interior basement with an electric demolition hammer?
A3: Since electric hammers don’t emit exhaust fumes like gas jackhammers do, they can be used in enclosed indoor locations for thin, non-reinforced local repair slabs. To reduce the risk of electric shock, it is important to map all underground internal wire pipelines, wear full dust protection gear, and softly wet the concrete surface before it chips.
Final Takeaway
Only when combined with thorough pre-work safety preparation, standardized balanced operation practices, and constant avoidance of typical destructive mistakes can a demolition hammer provide steady, long-lasting performance. By adhering to the aforementioned guidelines, mid-range equipment like the Willa demolition hammer can achieve maximum design efficiency for light residential repair activities like thin patio slab breaking, tile adhesive removal, and minor masonry chipping.
To prevent needless tool damage and personal safety problems, match the tool grade to your workload and practice good operating practices if your project involves large-scale full-slab demolition or thick, severely reinforced concrete. You will always do all concrete breaking activities safely and effectively if you put protective gear, frequent tool inspections, and patient rest cycles ahead of hurried demolition activity.
Demolition Hammer & Rotary Hammer for Sale
Demolition Hammer Rotary Hammer Blog
Angle
Diamond Blade

Welcome to call us
Contact Us to get quotation
Working Time: 8:00~17:00 Monday to Friday.
Applications:

Factory:
FAQ
Welcome to call us
Contact Us to get quotation
Working Time: 8:00~17:00 Monday to Friday.