How to remove scratches on blender blade?
How to remove scratches on blender blade?
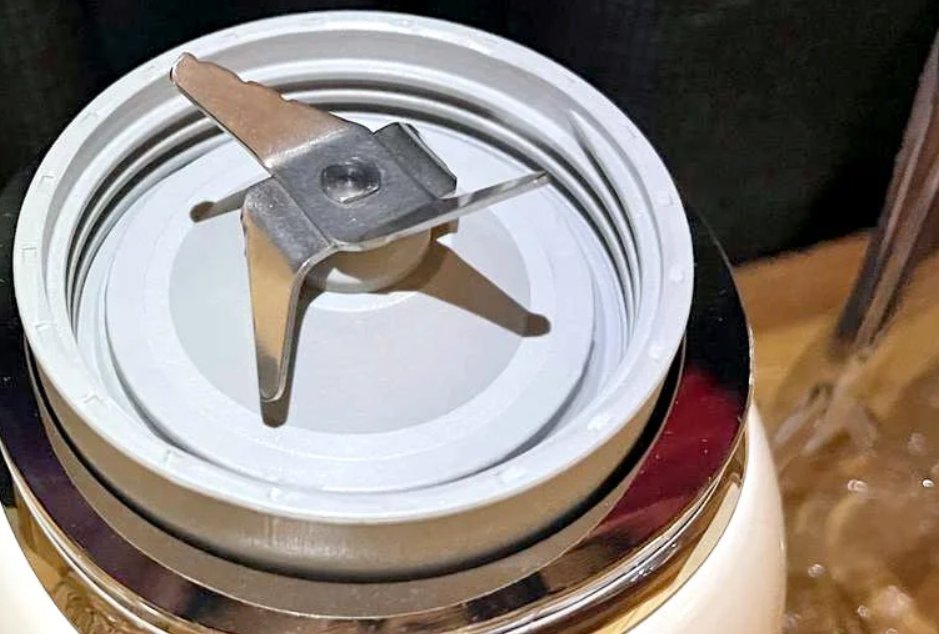
Standardized pre-repair safety disassembly and cleaning, targeted polishing techniques for shallow, deep, and severe scratches, and post-repair inspection verification, which restores blade smoothness and sharpness while preventing dynamic balance failure and potential safety hazards caused by improper repair, are all safe and effective ways to remove and repair scratches on blender blades. The blade surface will get numerous scratches and even microscopic nicks from long-term high-frequency blender operation, repeated crushing of hard items like nuts and ice cubes, and unintentional friction with foreign impurities. In addition to affecting cutting fineness, unprocessed blade scratches can readily trap food remains, harbor bacteria, and, in extreme situations, result in uneven blade rotation.Combined with daily blade maintenance and fault repair experience, classified repair according to scratch depth can maximize repair effect, protect the original blade structure, and extend the service life of the blender blade assembly.
Pre-repair Safety Preparation and Deep Cleaning
The fundamental safety principle for all blade scratch repair procedures is complete power-off disassembly. Users must fully disconnect the blender power supply and unhook the power cord to shut off the equipment power loop before beginning any polishing or repair work. Next, carefully and steadily remove the entire blade assembly from the blender cup body. This phase eliminates all contact safety hazards and creates a safe independent operating environment for subsequent scratch treatment by totally preventing inadvertent machine startup during manual polishing operation and preventing sharp blade edges from harming hands during repair.
Extensive deep cleaning and drying provide superior scratch repair results free of secondary contamination. There will unavoidably be food pulp residue, small particles, and sticky dirt concealed in the scratch gaps and surface textures of the blade once it has been disassembled. To ensure that no impurities remain in the damaged gaps, users must thoroughly clean all dirt caught in the scratch grooves using a soft-bristled brush. Scald and disinfect the entire blade with boiling water after the initial brushing to get rid of any remaining grease and concealed microorganisms. Lastly, use a fresh, dry cloth to thoroughly dry the blade. Only a clean, dry and impurity-free blade surface can provide uniform polishing power and impact, preventing hard residue from producing new scratches throughout the restoration process.
Targeted Repair Methods for Different Blade Scratches
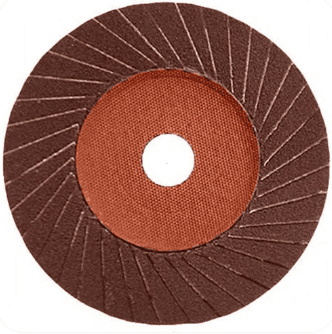
Fine sandpaper grinding and polishing can fully fix shallow and fine surface scratches without impairing blade performance. To prevent excessively rough grinding that damages the blade surface, users should choose ultra-fine sandpaper with a mesh size of 2000 or higher for shallow scratches that are superficial and do not affect the blade structure. Fix the fine sandpaper on a flat and solid operating surface, keep a steady grinding angle of 15 to 20 degrees consistent with the blade edge direction, and softly and evenly polish the scratched region along the edge trend. To prevent uneven blade edge wear and the destruction of the blade’s initial dynamic balance, random cross grinding and excessive force must be avoided.After removing the shallow scratches, apply a small amount of metal polishing paste on the blade surface for secondary wiping and fine polishing. This process thoroughly eliminates trace grinding marks, restores the blade’s smooth surface and original sharpness, and ensures the blade runs stably without vibration after repair.
To restore flatness, water-based whetstone grinding and fine finishing are required for medium-deep scratches and small edge nicks. A domestic water-soaked whetstone is the best repair tool for noticeable deep scratches and little edge chipping that cannot be fixed with fine sandpaper alone. Fully soak the whetstone in clean water before use to guarantee appropriate water lubrication during grinding, which can effectively reduce metal friction heat and avoid blade surface abrasion scars. In order to make the damaged area smooth and level with the surrounding blade surface, gradually trim the uneven concave and convex surfaces while grinding the scratched and nicked areas evenly and consistently. To prevent excessive local blade thickness trimming, users must maintain a constant blade grinding angle during the whole procedure.After flattening the damaged area with the whetstone, use 2000-mesh fine sandpaper for final fine polishing to remove tiny burrs left by whetstone grinding. A burr-free smooth blade surface can prevent food residue from accumulating in tiny gaps during subsequent use, maintaining long-term hygienic use.
Blades with severe deep scratches and structural deformities need to be replaced immediately because they cannot be repaired on their own. Manual polishing and repair are no longer able to restore standard performance if the blade scratch depth is more than 0.5 millimeters or if the blade body exhibits clear bending, distortion, and structural deformation as a result of significant impact. The factory-calibrated dynamic balance data will be totally destroyed if badly broken blades are forced to be ground. This will result in uneven blade thickness on both sides. Following self-repair, the blade will increase motor load, create severe eccentric jitter and anomalous noise during high-speed operation, and perhaps result in loose parts and blade offset, all of which could pose mechanical safety risks.Therefore, once severe deep scratches and structural deformation occur, the safest and most effective solution is to directly replace a new original blade of the same model to ensure stable and safe equipment operation.
Finishing and Operational Verification After Blade Repair
To verify repair quality and get rid of concealed flaws, standard post-repair cleaning and trial operation verification are crucial. Users must thoroughly clean the blade once more after finishing scratch polishing and repair operations in order to get rid of any remaining polishing powder, metal fragments, and surface stains from the grinding process. They must then wipe the blade dry to remove any remaining moisture residue. Make that the blade rotates smoothly and flexibly without jamming, stagnation, or offset shaking by physically rotating the blade assembly many times prior to official installation and use. Install the blade on the blender for a 10-second no-load trial run after passing the manual check.Observe the overall operation status carefully during operation, and confirm there is no abnormal blade shaking, eccentric vibration or strange friction noise. Only when all indicators are normal can the repaired blade be put into formal daily stirring and crushing use.
Supplementary Q&A
Q:What tools are best for fixing shallow scratches on blender blades?
A:Ultra-fine 2000-mesh or higher sandpaper matched with metal polishing paste is the best choice. It can safely remove shallow scratches without damaging the blade edge and dynamic balance, and restore blade surface smoothness and sharpness perfectly.
Q:When should I stop repairing a scratched blender blade and replace it instead?
A:Direct replacement is required when scratch depth exceeds 0.5mm, or the blade has structural bending and deformation. Self-repair will destroy dynamic balance, causing jitter, abnormal noise and potential safety risks during high-speed operation.
Q:Why is post-repair trial run necessary after fixing blade scratches?
A:Trial operation verifies that the grinding process does not cause unbalanced blade thickness or edge jamming. It eliminates hidden faults such as vibration and abnormal noise in advance, ensuring safe and stable formal use of the repaired blade.
Final Decision
In summary, standardized safety disassembly and cleaning, classified targeted repair, and stringent post-repair verification are necessary for eliminating blender blade scratches. In order to prevent safety risks, badly scratched and deformed blades are replaced directly, medium-deep nicks are repaired with water-soaked whetstone trimming, and fine shallow scratches are restored with fine sandpaper polishing. Scientific scratch restoration techniques can preserve the blade’s initial dynamic balance performance, eliminate hygienic issues brought on by residual gap dirt, and restore the blade’s smoothness and sharpness. The blender blade assembly’s long-term stable, safe, and hygienic functioning in daily high-frequency use is further ensured by standardized post-repair inspection and trial operation.
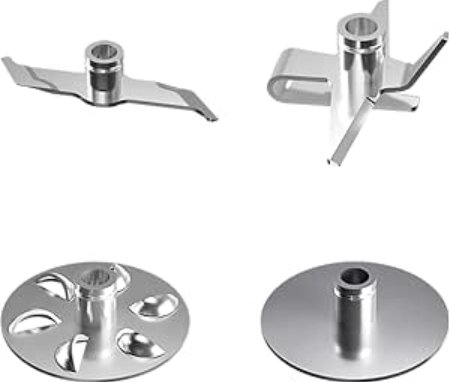
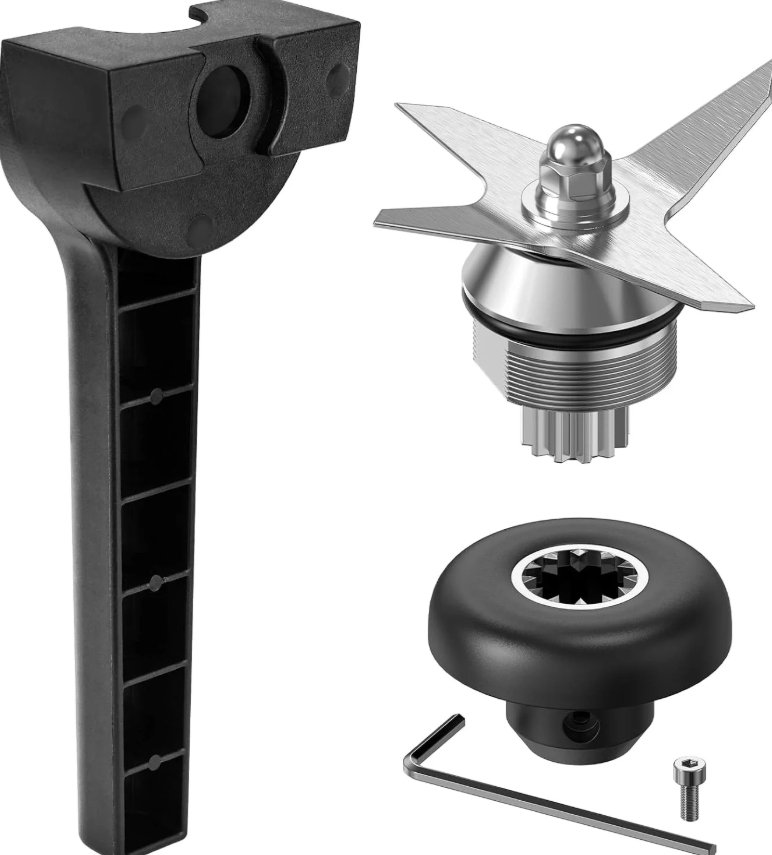
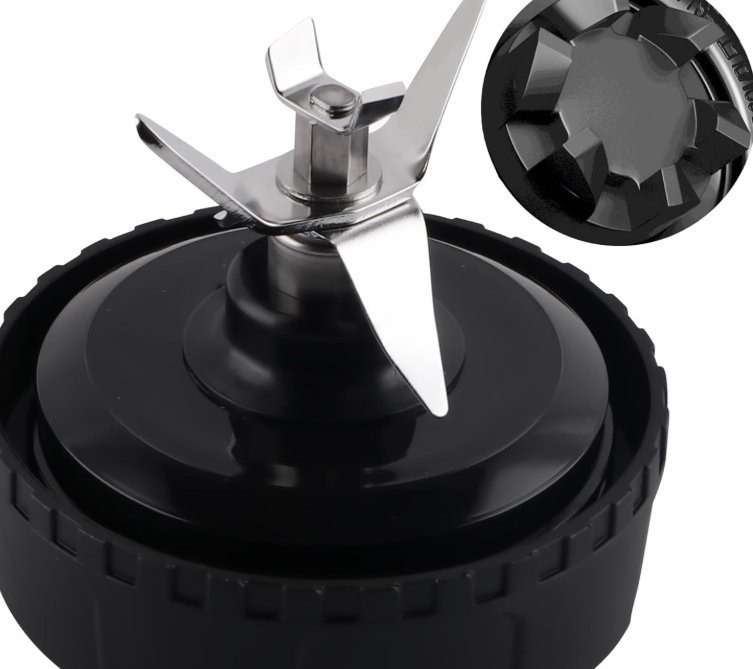
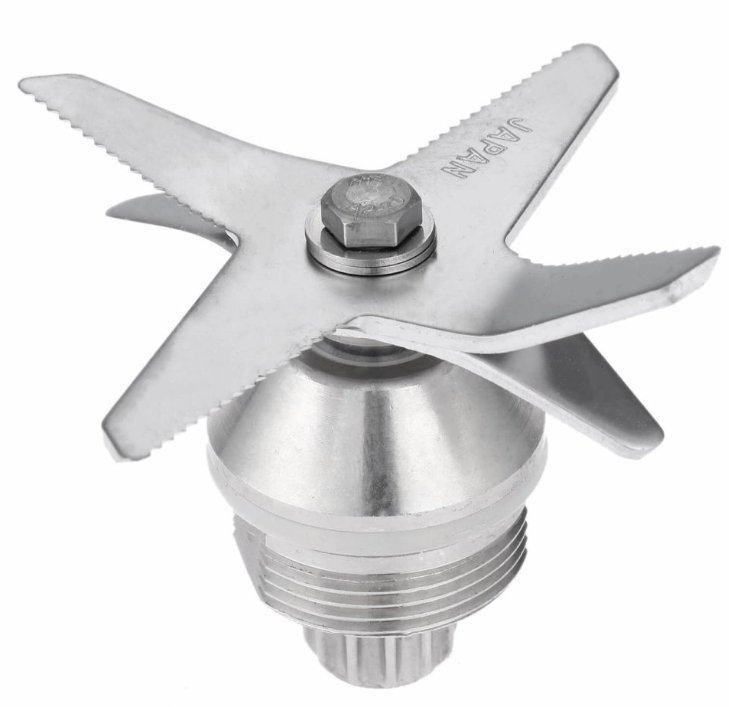
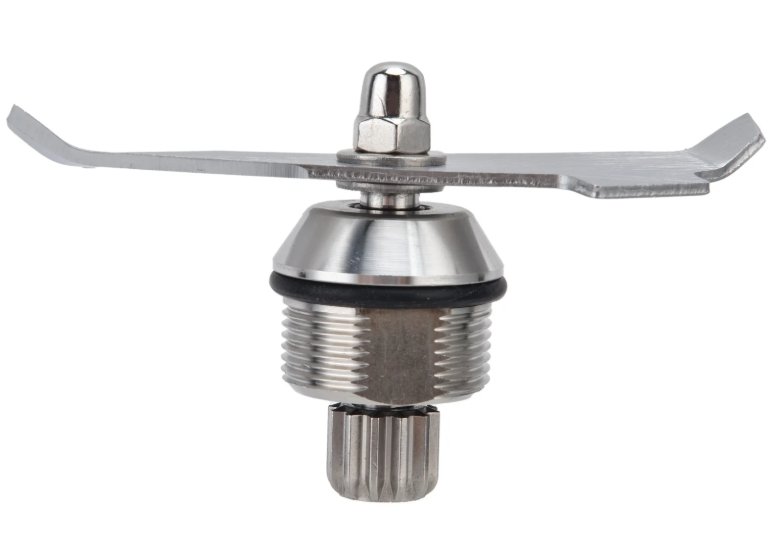
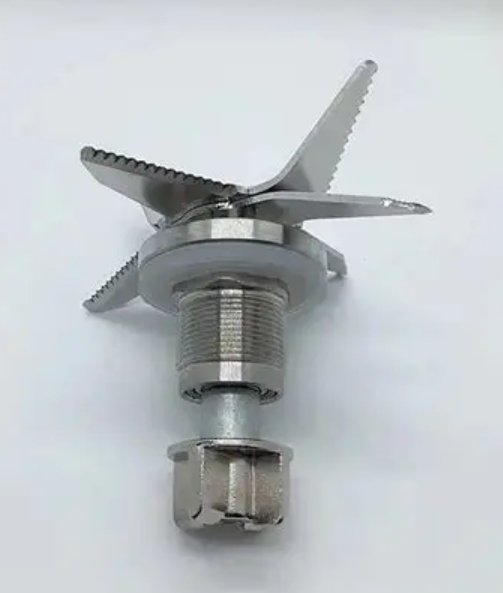
Blender Blade for Sale
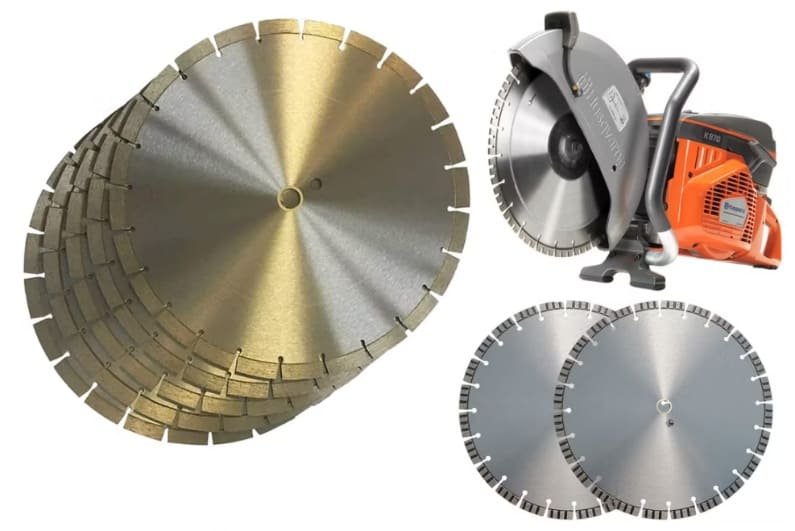
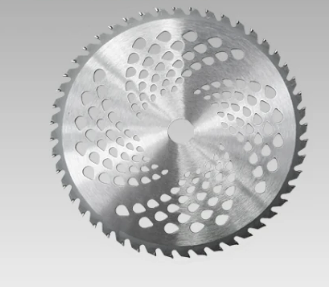
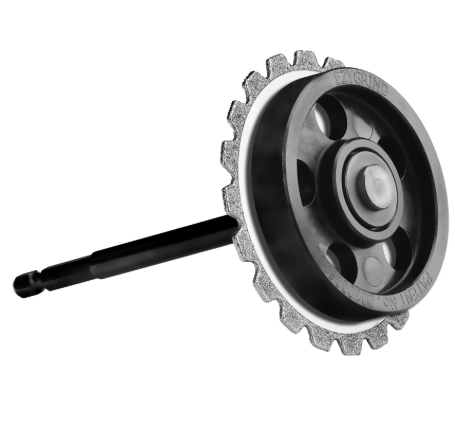
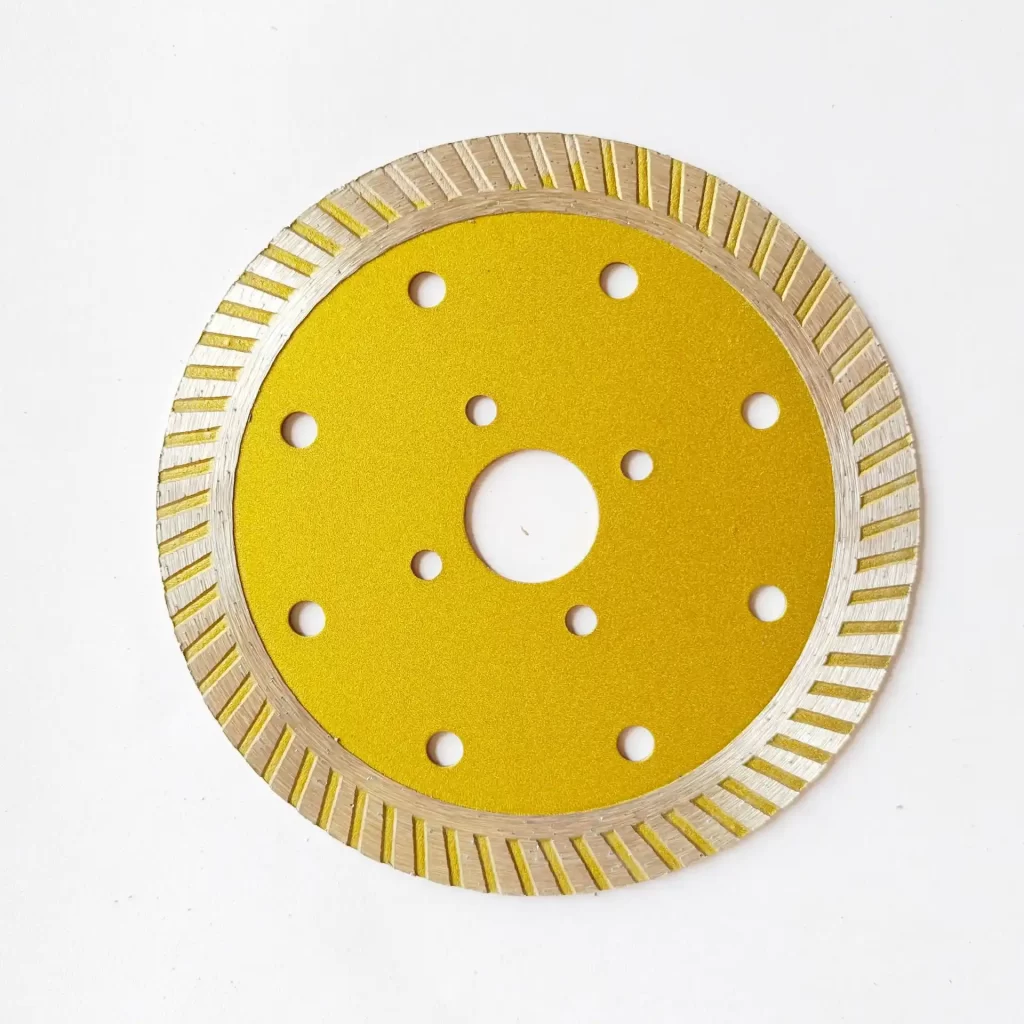
Diamond Blade for Sale

Demolition Hammer & Rotary Hammer for Sale
Angle
Welcome to call us
Contact Us to get quotation
Working Time: 8:00~17:00 Monday to Friday.
FAQ
Welcome to call us
Contact Us to get quotation
Working Time: 8:00~17:00 Monday to Friday.