How To Install Blender Cutting Assembly?
How To Install Blender Cutting Assembly?
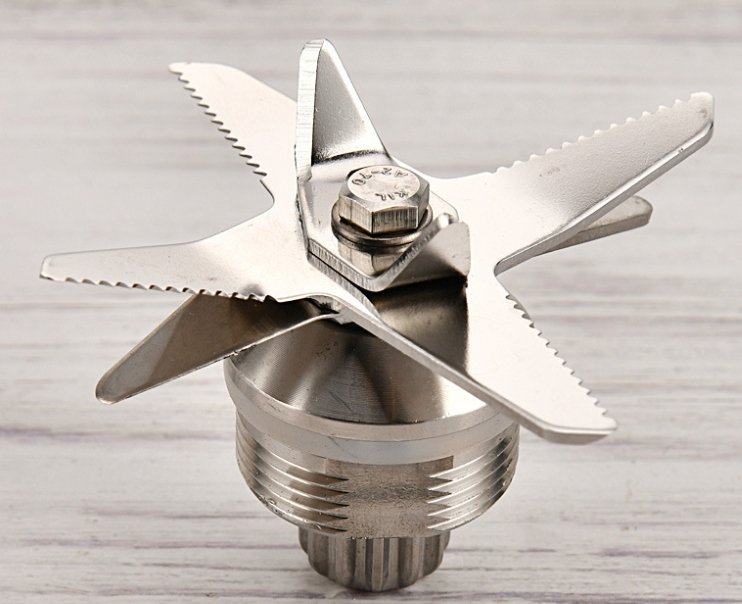
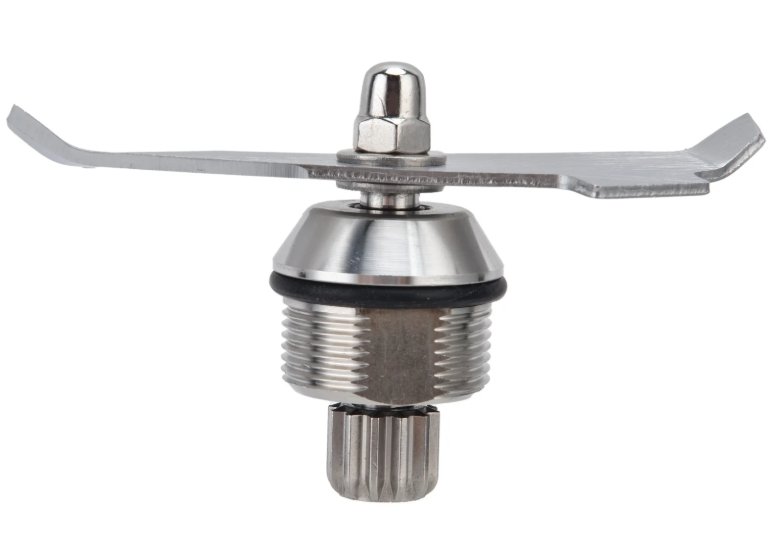
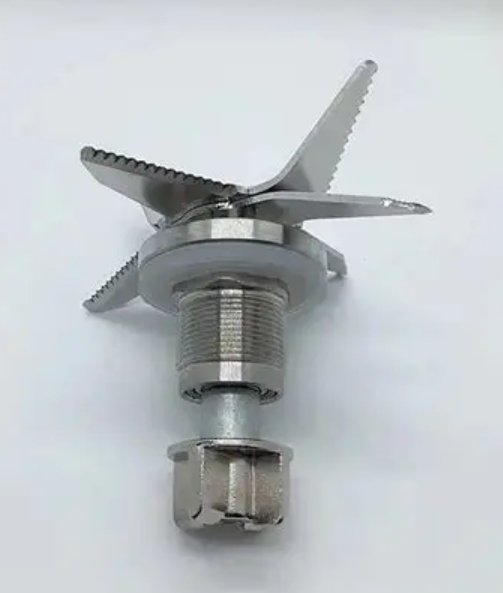
Correct and standardized installation of blender cutting assemblies is the core foundation for ensuring stable blade operation, tight sealing effect and long-term equipment safety, as different household, food processor and industrial blender cutting assemblies adopt completely different structural designs and locking methods that determine installation accuracy and later operating stability. Irregular installation is the main cause of common faults such as blade slipping, loosening, liquid leakage and abnormal jitter, rather than blade quality problems. Only by following targeted complete installation procedures for different equipment types can users complete blade replacement safely, avoid hidden operational troubles, and ensure efficient and stable blending performance in daily and commercial use.
Installation Steps for Conventional Household Blender Cutting Assembly
Complete power-off and surface cleaning is the essential pre-installation preparation for household blender blade assembly. Before starting any installation work, users must confirm the blender is fully powered off and unplugged to eliminate the risk of accidental startup and personal injury. It is also necessary to thoroughly wipe and clean all oil stains, sticky pulp residues and dried food debris on the blade seat and cup body mounting positions. A clean and flat fitting surface can effectively prevent blade slipping, poor sealing and eccentric jitter caused by residual dirt during high-speed operation.
Accurate alignment placement ensures correct preliminary positioning of the blade assembly. Users need to invert the blender cup on a flat and stable desktop to fully expose the bottom mounting structure. The positioning marks on the blade seat, typically the white dot on the orange movable block, should be precisely aligned with the reserved mounting area at the cup bottom. The blade assembly must be placed flat and vertically without tilting or left-right deviation to guarantee concentric rotation in subsequent operation.
Counterclockwise rotational fixation realizes firm locking of the blade structure. After accurate alignment, hold the blade seat steadily and rotate the entire assembly counterclockwise at a uniform speed. With the gradual engagement of the internal buckle and thread structure, a clear “click” prompt sound will be heard, which serves as standard feedback that the blade has reached the fully locked position and completes preliminary fixation.
Manual installation verification eliminates hidden operational risks. After locking, gently press the movable buckle on the blade seat to test structural flexibility. A qualified blade assembly moves smoothly up and down without jamming or stagnation. Slightly shaking the blade seat can confirm no internal looseness or abnormal noise, proving that the household blade installation is stable and compliant.
Installation Steps for Food Processor Blender Cutting Assembly
Standard safe operation is the primary guarantee for food processor blade installation. The blade head of a food processor is exposed and extremely sharp without cup body protection. During the entire installation process, users must grip the dedicated lifting handle on the blade head and avoid direct contact with the blade edge, which can effectively prevent accidental scratch injuries during assembly.
Vertical alignment and feeding achieve accurate fitting positioning. After safe gripping, align the blade head vertically with the central opening of the main cooking pot, and slowly lower the blade assembly straight down until the bottom of the blade group is completely and closely attached to the inner bottom of the pot. No suspended gaps or unilateral tilting are allowed to avoid idle rotation and incomplete power transmission.
Fitting confirmation ensures complete clamping and stable connection. After placement, gently shake the blade assembly horizontally and vertically to check the engagement state. It is necessary to ensure that the clamping groove between the blade seat and the pot bottom is fully locked without offset or shaking displacement, so that the blade can operate stably without vibration or stirring failure.
Installation Steps for Industrial Chopping and Mixing Blender Cutting Assembly
Safety shutdown and component finishing are mandatory pre-installation procedures for industrial equipment. Operators must completely cut off the total power supply of the industrial chopping mixer to avoid accidental mechanical startup. All oil stains and residual materials on the blade shaft, chopping blades and blade seat need to be thoroughly cleaned. Meanwhile, only blades with a weight difference within 2 grams can be grouped for matching use, ensuring overall rotational balance during high-load operation.
Blade shaft locking provides stable assembly conditions. Open the equipment protective cover and flip the blade shaft locking handle to the fixed locking position. This operation fixes the spindle firmly and prevents arbitrary rotation during subsequent blade assembly, ensuring accurate angle arrangement and standard installation of each blade group.
Sequential assembly and angle arrangement determine overall cutting balance. Install the baffle plate first, then assemble the blade groups in accordance with actual production needs. The key grooves of different blade groups must be arranged at standard 60° or 90° intervals to form a balanced three-dimensional cutting structure. Finally, install the pressure cover and gently tighten the left-hand thread locking nut for preliminary fixing.
Precision gap calibration realizes professional and compliant installation. Flip the blade shaft locking handle back to the rotating state, and finely adjust the gap between the blade tip and the chopping pot arc surface to the standard range of 1mm to 1.5mm. This calibration avoids material dead corners and blade friction, ensuring thorough chopping effect and stable long-term operation of industrial equipment.
Supplementary Q&A
Q:What is the key pre-installation preparation for all blender blade installations?
A:Complete power-off protection and thorough cleaning of the mounting surface are the core preconditions. Cutting off the power prevents accidental startup and safety hazards, while removing oil stains and food residues effectively avoids blade slipping, poor sealing and unstable rotation after installation.
Q:What are the most critical installation standards for industrial blender blades?
A:Controlling the blade weight difference within 2 grams ensures rotational balance, and calibrating the blade tip gap to 1mm to 1.5mm prevents vibration wear, material residual dead corners and blade friction, which are the two core standards for qualified industrial blade assembly.
Q:How to judge whether a blender cutting assembly is installed qualified?
A:A qualified installation features accurate alignment, firm locking and close fitting. The blade moves flexibly without jamming, looseness or abnormal shaking, fits tightly with the equipment clamping structure, and has no offset or suspended gaps to ensure safe and stable operation.
Final Verdict
In conclusion, the installation of blender cutting assemblies needs to adopt differentiated standardized processes according to different equipment types. Household blenders focus on power-off cleaning, precise mark alignment, counterclockwise locking and flexible inspection. Food processor blades emphasize safe gripping, vertical centering placement and full clamping fitting. Industrial chopping mixers require strict power-off protection, balanced weight matching, shaft locking, regular angle assembly and precise gap calibration. Standardizing every installation step can effectively avoid common faults such as loosening, liquid leakage and operational jitter, ensuring safe, stable and efficient operation of all types of blender cutting assemblies.
Blender Blade for Sale
Diamond Blade for Sale

Demolition Hammer & Rotary Hammer for Sale
Angle
Welcome to call us
Contact Us to get quotation
Working Time: 8:00~17:00 Monday to Friday.
FAQ
Welcome to call us
Contact Us to get quotation
Working Time: 8:00~17:00 Monday to Friday.