How to remove jar blade from blender?
How to remove jar blade from blender?
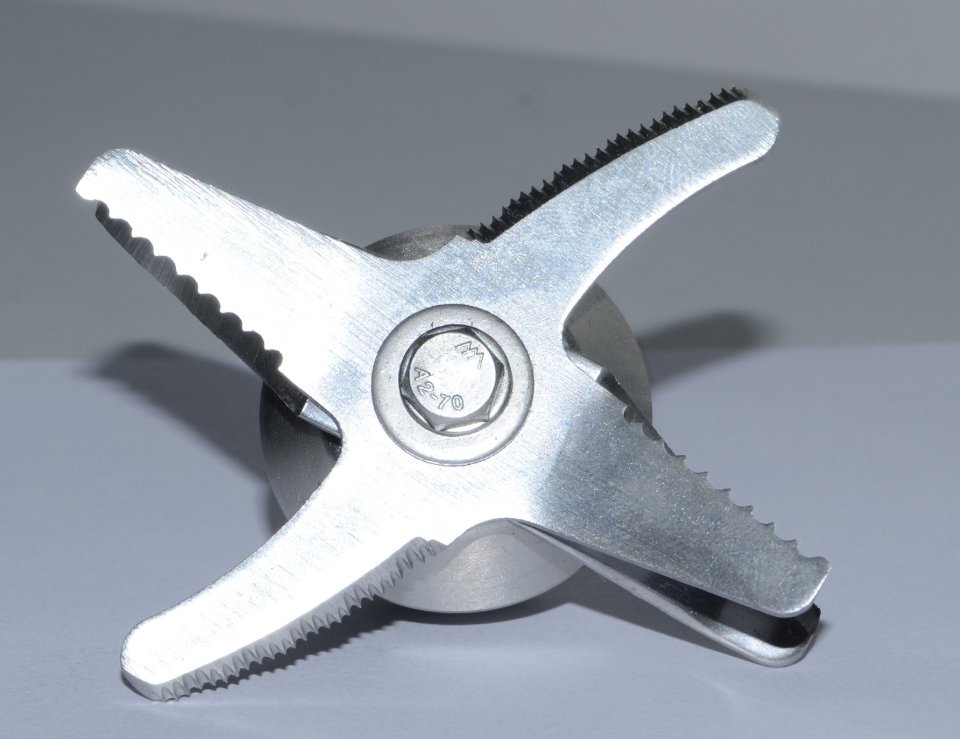
It is feasible to take off the jar blade from most household blenders step by step, but you must first check whether your blender model allows detachable blade assembly and follow safety precautions throughout the whole process; mastering standard disassembly steps can help you safely take down the blade for deep cleaning, sharpening or replacement without damaging the blender cup and internal accessories. Blender blades are fixed with four mainstream structural designs on the market, and each type needs matched operation skills. Proper preparation before disassembly is the premise to avoid cuts, component slipping and accidental machine damage, while standardized post-disassembly handling and reverse reinstallation can keep the blender sealed and stable for long-term daily use.
Full Preparations Before Starting Blade Disassembly
Cutting off power supply completely is always the very first safety step before any disassembly work. You need to unplug the blender power cord from the wall socket entirely, and wait patiently until the rotating blade inside the jar stops spinning thoroughly. Even if the machine has been turned off previously, residual inertia may still make the blade spin accidentally for a short time, which can easily cut fingers when you reach into the cup. Never attempt to touch or dismantle the blade assembly with the power connected, so as to eliminate the risk of unexpected startup injury fundamentally.
Next, prepare necessary tools and protective supplies for the whole operation process. You need to get a matched screwdriver or adjustable small spanner according to your blender’s bottom fixing structure, and put on thick anti-slip rubber work gloves all the time. The sharp blade edge can easily slash bare skin, and the gloves can form an effective barrier against scratches during holding, twisting and taking out the blade. Meanwhile, empty all leftover fruits, soups, grains and other food materials inside the blending jar completely, rinse the inner wall briefly with clean water to wash away sticky food residues stuck around the blade base, then place the blender cup steadily upside down on a flat clean countertop to prevent slipping and tipping during twisting operations.
It is also essential to confirm the structural attribute of your blender ahead of time by checking the original product instruction manual. A small number of integrated all-in-one blenders adopt non-detachable sealed blade design for food safety consideration, the blade and jar are pressed together as one whole component with no gaps for disassembly. If you blindly use tools to pry, twist and force apart such integrated structures, you will crack the cup bottom, break the internal transmission shaft and damage the whole blending jar permanently. Confirming detachable structure in advance can avoid unnecessary wrong operation and unnecessary accessory loss.
Four Common Structural Disassembly Methods for Blender Jar Blades
This is the most traditional fixing design widely used in old-fashioned household blenders. Turn the blending jar upside down steadily, you will see a cross or straight slot fixing screw located right at the center of the blade rotating shaft on the cup bottom. Insert the matched screwdriver into the screw slot firmly, and turn the screwdriver counterclockwise slowly and evenly to loosen the central fixing screw step by step. Some screws will get extremely tight after long-term use due to food residue adhesion and slight rust accumulation, making it hard to twist directly. At this moment, you can wrap a section of thick rubber band around the screw cap to boost surface friction, which saves much effort when twisting and prevents the screwdriver from slipping and scratching the plastic cup bottom. After the screw is completely unscrewed and taken out, hold the blade body gently and shake it slightly back and forth to separate the whole blade assembly smoothly from the jar bottom transmission shaft.
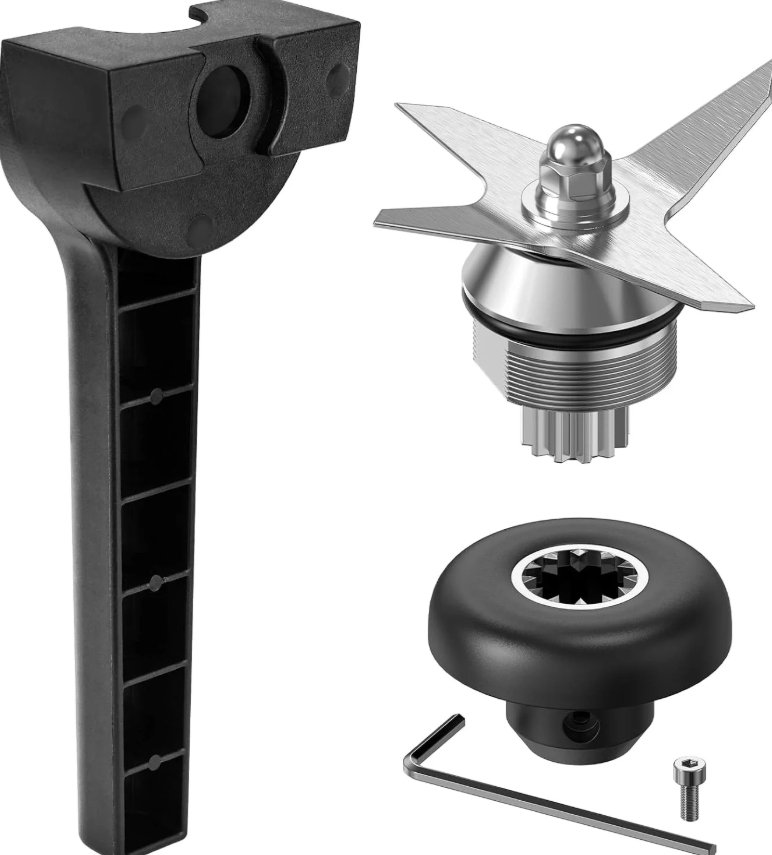
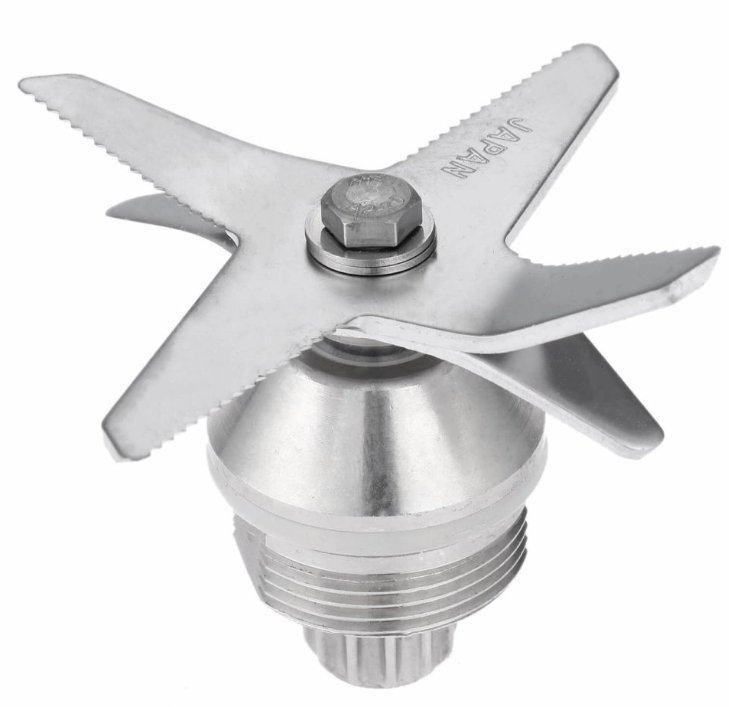
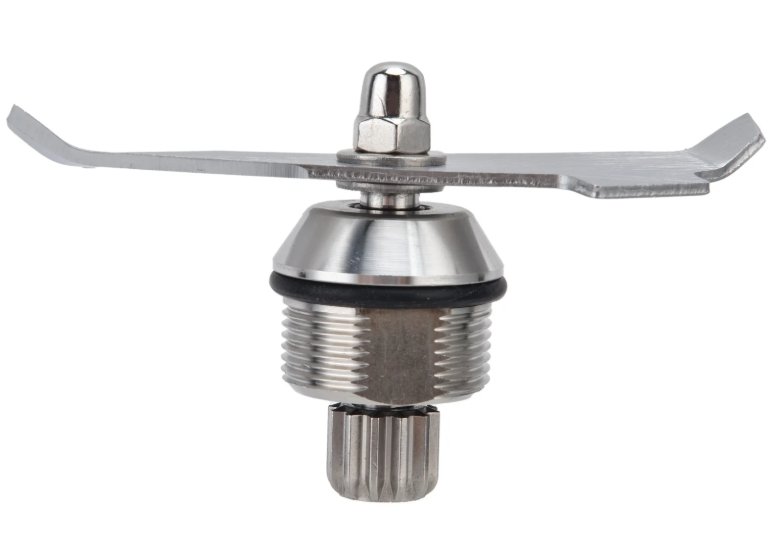
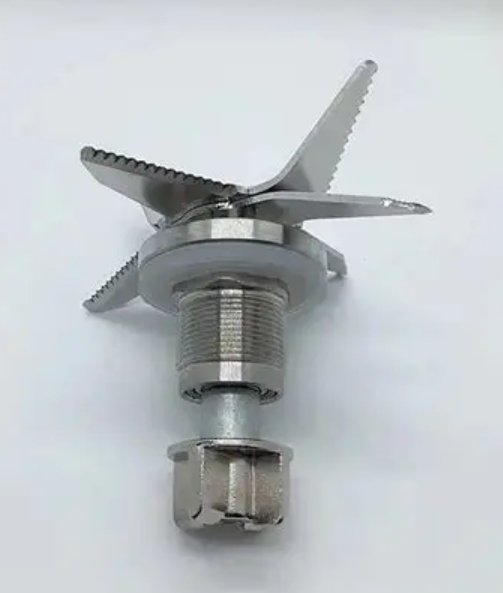
Most medium and high-speed commercial blenders and large household 破壁 machines adopt nut locking structure to fix blades for stronger sealing stability. First detach the whole blending jar from the main motor base, then peel off the soft silicone sealing ring wrapped around the bottom blade seat carefully and put it aside temporarily. Aim the opening of an adjustable spanner at the fixed card slots on both sides of the blade base to clamp the blade seat tightly and fix it to stop rotation, then use another spanner to hold the hexagonal locking nut above the shaft and twist it counterclockwise gradually to loosen the nut completely. In cases where the nut is stuck firmly by dried grease and residues, you can drip a tiny amount of edible cooking oil into the nut gap for lubrication, leave it to stand for 3 to 5 minutes to let the oil seep fully, then resume twisting work for much smoother operation. Once the nut is removed, you can pull out the entire blade set upwards from the inner side of the blending jar effortlessly.
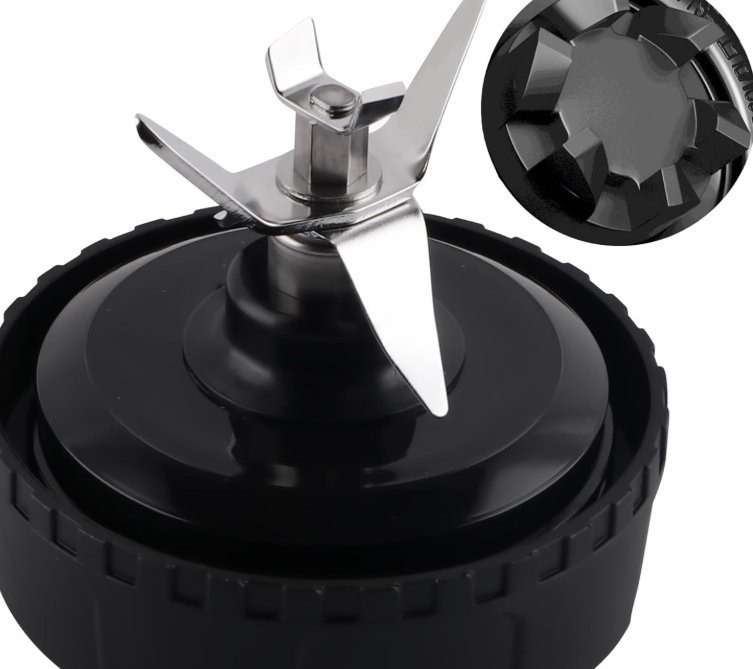
Many portable multi-function blenders and wall breakers use convenient rotary buckle design to simplify disassembly steps for daily cleaning. Flip the jar upside down and check the printed marks on the bottom outer wall clearly, there will be obvious “Open” and “Close” arrows to indicate rotation directions. Hold the plastic outer base of the blade assembly tightly with one hand, rotate the whole blade seat clockwise strictly following the open direction mark. As you keep rotating, the internal buckle teeth will gradually disengage from the cup bottom clamping position, once you feel obvious loosening resistance disappears, you can directly lift the whole blade assembly upward to finish disassembly without any extra hand tools at all. This structure focuses on daily convenience, yet you should not apply excessive force during rotation to prevent plastic buckles from breaking off.
This simplified design is mostly applied to small baby food blenders, mini portable juicer cups and lightweight personal blenders, tailored for frequent disassembly cleaning demands. After separating the blending cup from the power host base, you can directly reach into the inner cup with gloved hands to grasp the blade base tightly, and pull the whole blade component straight upward with steady force to take it out successfully without screws, nuts or rotary buckles. The quick-release structure relies on slight elastic clamping force to fix the blade during operation, it can bear normal stirring load firmly while bringing the most effortless disassembly experience for daily users.
Post-Disassembly Operations & Vital Permanent Notes
Right after taking down the blade assembly, thorough cleaning and component inspection are required as the key follow-up steps. Rinse the blade body, central shaft, silicone sealing ring and all gaps with warm water mixed with mild dish soap to wash away hidden food residues that breed bacteria easily. While cleaning, carefully check the elastic silicone sealing ring for aging, hardening, cracks or permanent deformation; a worn sealing ring will cause liquid leakage during blending after reinstallation, so you need to replace it with a new matched sealing gasket once damage is found. After cleaning all metal parts including blades, screws and nuts, wipe every surface dry completely with a clean dry cloth to drain off all residual water droplets, avoiding long-term moisture retention leading to stainless steel blade rust and screw corrosion.
When you need to put the blade back to the jar after cleaning or maintenance, conduct reinstallation by reversing the whole disassembly order. Align the blade central hole accurately with the transmission shaft inside the cup bottom, install nuts or screws in place step by step, and tighten them moderately clockwise. Do not over-tighten fasteners with great force, which will squeeze and deform the sealing ring and cause rotation jamming. After finishing installation, shake the jar slightly and turn the blade manually to confirm it rotates smoothly without shaking or loosening, which ensures normal safe blending use next time.
Several forbidden operations need to be kept in mind all the time to protect your blender accessories well. Never use sharp vice pliers to forcibly pry stuck blades or nuts randomly, brute force will crack plastic cup bottoms, bend the metal transmission shaft and break blade edges irreparably. Do not use steel wool scouring pads to scrape the inner wall of the blending jar and blade surface frequently either, hard steel scraps will scratch stainless steel and plastic surfaces, accelerate blade dulling and leave tiny scratches where dirt hides easily afterwards.
Supplementary Q&A
Q: I twisted the bottom screw counterclockwise repeatedly, but the screw won’t turn loose at all, what can I do to solve this?
A: This situation is usually caused by food sludge and slight rust sticking the screw tightly. You can drip a little edible oil into the screw gap and wait 5 minutes for lubrication, then wrap a rubber band on the screw cap to increase friction before twisting again. Do not use too much strength to avoid slipping and damaging the screw notch.
Q: After I took the blade apart and reinstalled it, the blender leaks juice from the bottom when working, where does the leakage come from?
A: The main reason is the silicone sealing ring is misplaced, aged or not installed in place during resetting. You need to take down the blade again, rearrange the sealing ring to fit the groove completely, check if the gasket has cracks, and tighten the fixing nut moderately to restore tight sealing.
Q: My blender is an integrated sealed type marked non-detachable blade, how should I clean the food residue around the blade gap?
A: You can use a long thin cleaning brush with soft bristles to poke into the gaps to sweep away residues, then rinse repeatedly with running water. Never pry the blade base forcibly, otherwise you will destroy the sealed structure and cause permanent leakage.
Final Verdict
Most detachable blender jar blades can be safely removed by screw twisting, nut loosening, rotary buckle unlocking or direct quick pulling, on the premise of cutting off power, wearing protective gloves and confirming the blender is not an integrated non-disassembly design in advance. Different fixed structures correspond to targeted twisting and taking-down skills, and proper lubrication and friction assistance can effectively solve stuck fastener problems. After disassembly, thorough cleaning, sealing ring inspection and metal drying work can maintain accessory hygiene and prevent rust; standardized reverse reinstallation guarantees sealing performance and stable operation. Random prying, excessive tightening and improper cleaning will damage blender components easily. Mastering the whole set of disassembly and maintenance procedures can make daily blade cleaning, sharpening and replacement convenient and safe, extending the overall service life of your household blender effectively.
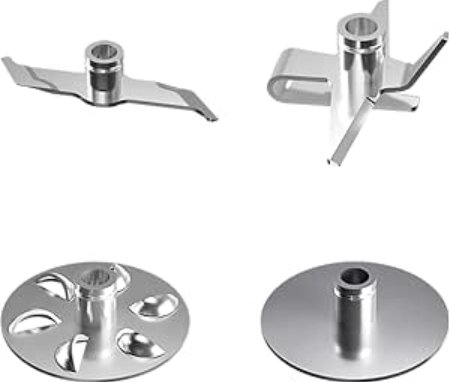
Blender Blade for Sale
Diamond Blade for Sale

Demolition Hammer & Rotary Hammer for Sale
Angle
Welcome to call us
Contact Us to get quotation
Working Time: 8:00~17:00 Monday to Friday.
FAQ
Welcome to call us
Contact Us to get quotation
Working Time: 8:00~17:00 Monday to Friday.