How to Replace Carbon Brushes on Demolition Hammer?
How to Replace Carbon Brushes on Demolition Hammer?
Correct carbon brush replacement relies on complete pre-work safety preparation, standardized disassembly and installation steps, and post-replacement testing rules, which can eliminate motor sparking, power loss and shutdown faults while protecting the motor commutator from permanent damage.
Preparation Work Before Carbon Brush Replacement
Cutting off all power supply is the top safety rule before any disassembly work, and no exceptions are allowed for any operation link. Operators must pull the power plug completely out of the socket instead of just turning off the machine switch, because partial circuits may still conduct electricity when the switch fails accidentally. Even if the demolition hammer seems to have no power, residual current inside the motor can still cause electric shock during disassembly of carbon brush components, especially in humid construction environments with higher leakage risks. This simple safety step avoids almost all accidental electric shock injuries during maintenance.
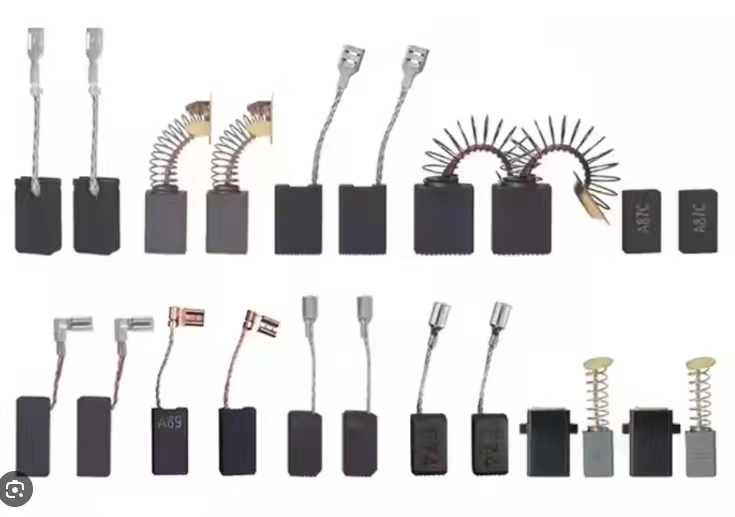
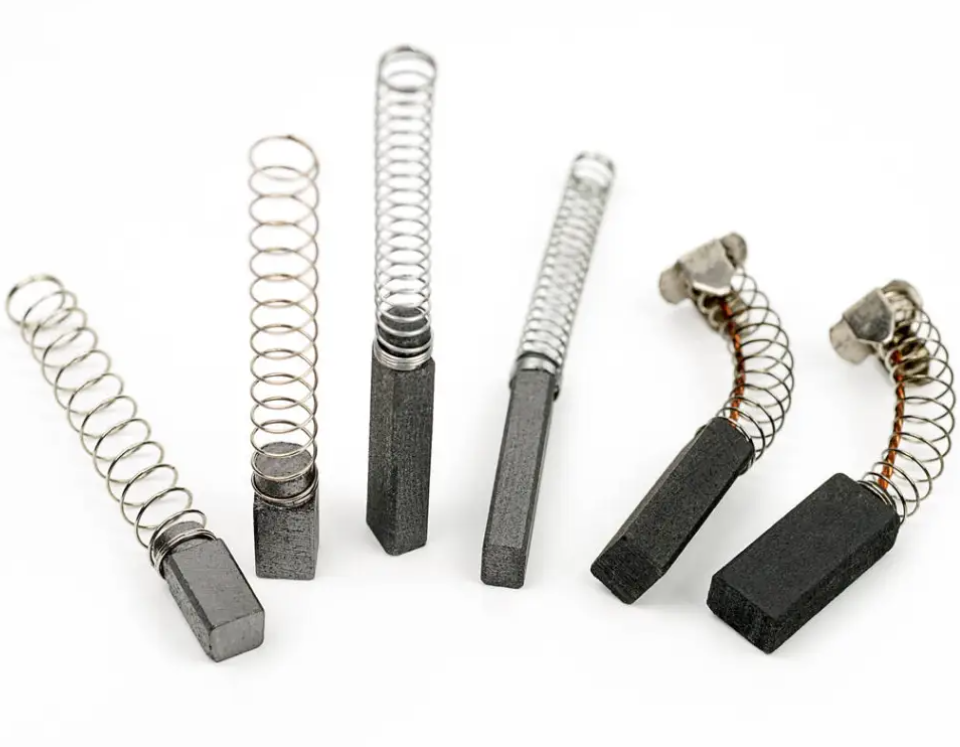
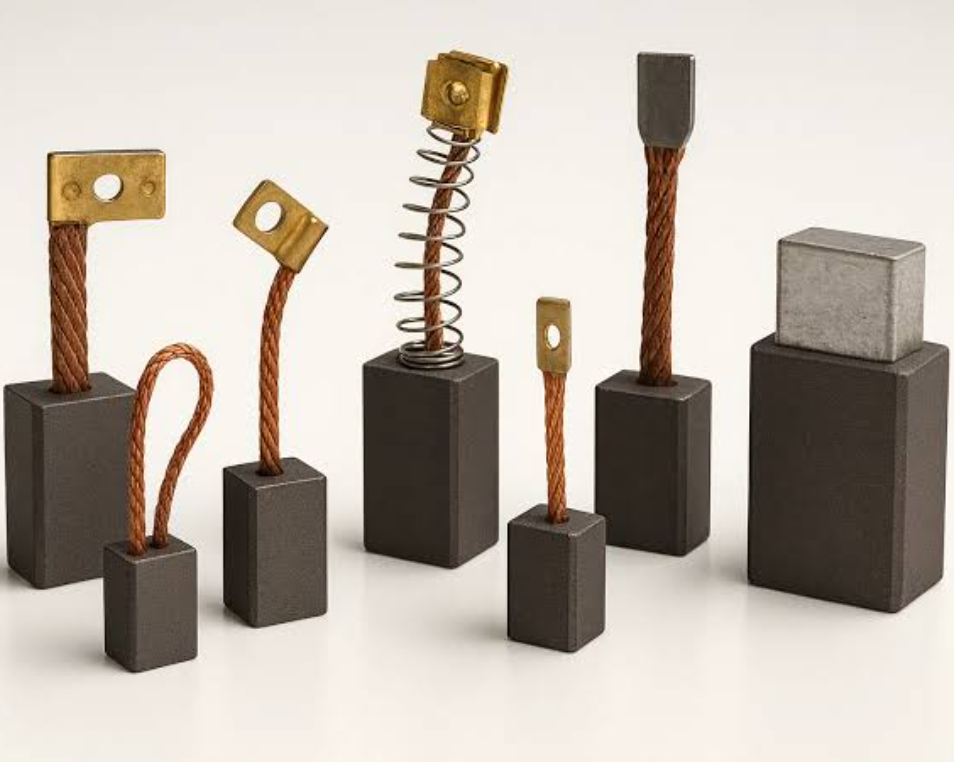
Complete matching tools and qualified spare carbon brushes are essential to guarantee smooth replacement without secondary damage. The basic tool kit includes a cross-head screwdriver for opening brush covers, a pointed tweezers to clean carbon dust, and fine sandpaper used to polish the curved surface of new brushes. The core spare part is a pair of original matching carbon brushes; it is not recommended to buy universal low-quality carbon brushes with inconsistent sizes. Missing any tool will lead to rough operation, such as scratching the commutator when there is no tweezers to clean dust, or poor contact without sanding to fit radian.
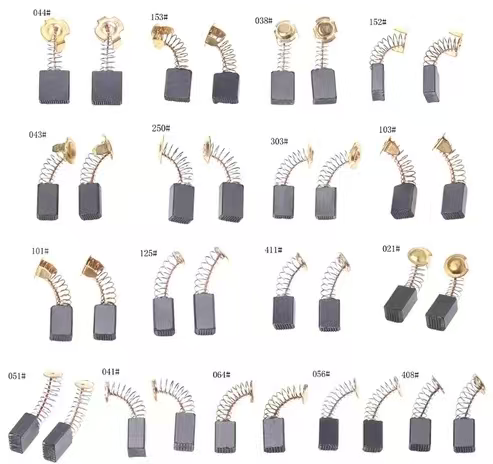
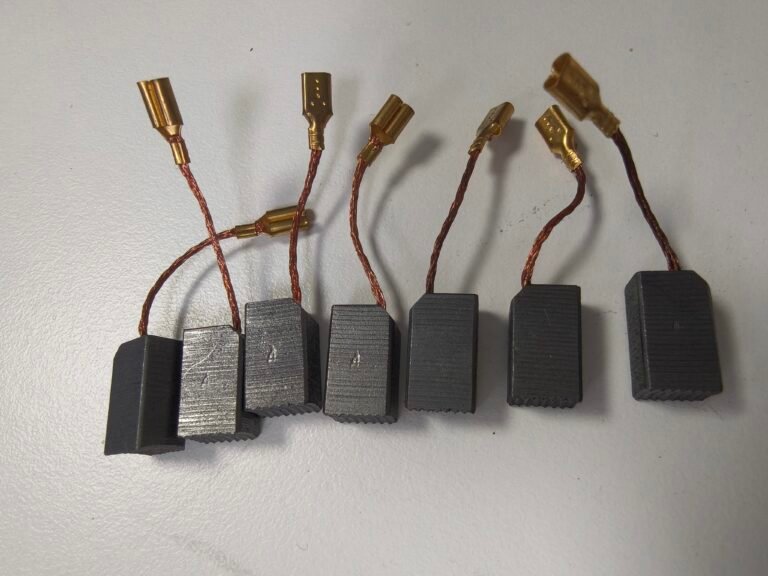
Strict appearance and size inspection of new carbon brushes must be done before installation to avoid invalid maintenance after disassembly. Workers need to compare the length, width and thickness of new brushes with the old ones removed from the machine, and confirm the wire position and spring clamping structure are fully consistent with factory specifications. Check the surface for cracks, deformation and graphite shedding defects at the same time. If mismatched or damaged carbon brushes are installed blindly, they will fail to cling to the commutator tightly, causing massive sparks, power attenuation and even scratches on the copper commutator surface after short-time use.
Step-by-Step Detailed Carbon Brush Replacement Process
Start disassembly by unscrewing the fixing screws of the motor rear cover or independent external carbon brush caps with a matched screwdriver. Many small light demolition hammers adopt side-mounted independent brush caps for quick maintenance, while large heavy industrial models require removing the entire rear motor housing to expose the internal brush frame. Store tiny screws in a small container to prevent loss on dusty construction ground, and observe the internal layout of brush springs before taking out old carbon brushes for follow-up reinstallation reference.
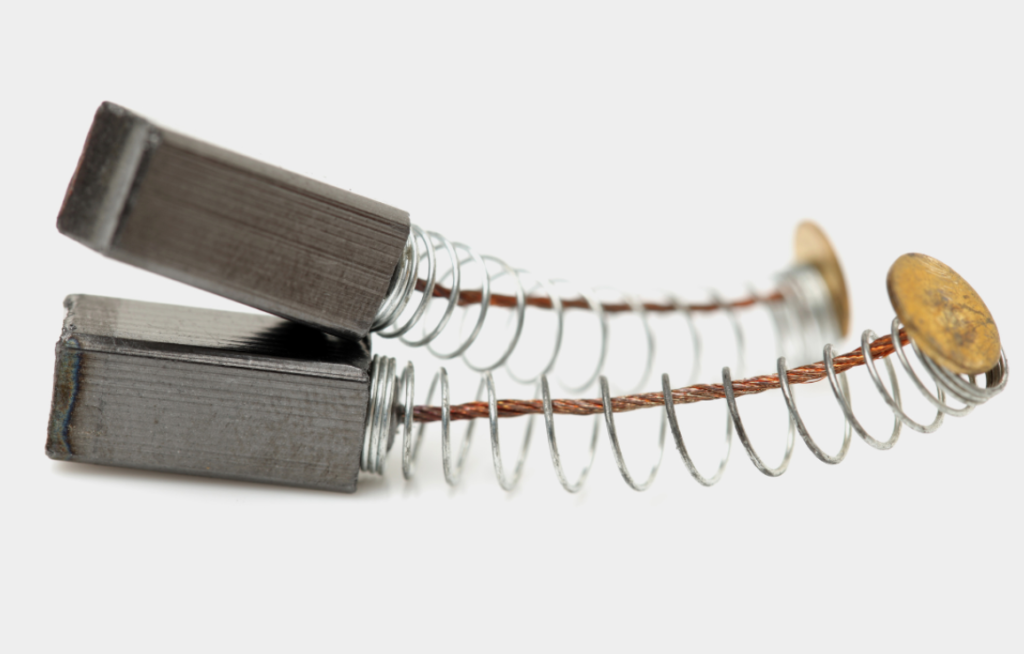
Take out worn old carbon brushes gently with tweezers, and take special care to protect brush holders and elastic spring pieces from deformation. For large heavy-duty demolition hammers, there are small hooks fixing the brush frame, so operators need to lift the hooks lightly first to release tension before pulling out carbon brushes. Never pull the carbon brush hard with brute force, as excessive pulling will bend the thin spring sheets, resulting in insufficient compression force and poor contact after new brushes are installed. Once the spring is deformed, it cannot provide stable pressure, leading to repeated sparking troubles.
Thoroughly clean accumulated carbon powder and cement dust inside the brush slot with tweezers and a dry brush. Long-term operation will make graphite dust compacted in the gap between the brush and the slot, which blocks free sliding of new carbon brushes and creates unstable current transmission. After cleaning, manually test the sliding state of the brush inside the slot; it should slide smoothly without jamming up and down. Residual dust left inside will hinder elastic expansion of carbon brushes as they wear down, shortening the service life of newly replaced parts greatly.
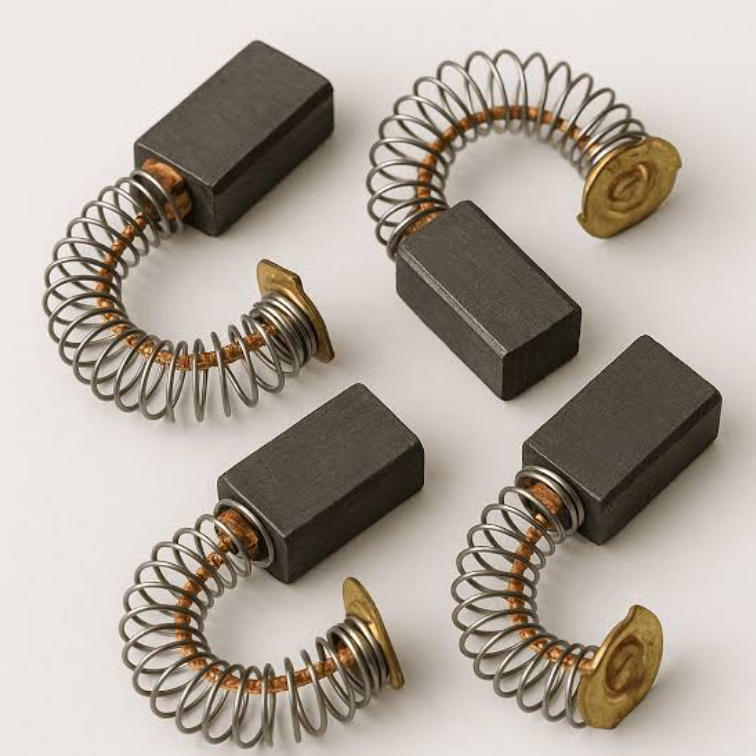
Polish the arc contact surface of new carbon brushes with fine sandpaper following the motor rotation direction to fit the radian of the commutator perfectly. The brand-new carbon brush has a flat cutting surface that cannot fully fit the circular copper commutator; direct installation will only form point contact and produce violent sparks. Uniform polishing along the rotation direction creates a matching curved surface, increasing contact area and making current transmission smoother, which greatly reduces abnormal sparking during the running-in period after replacement.
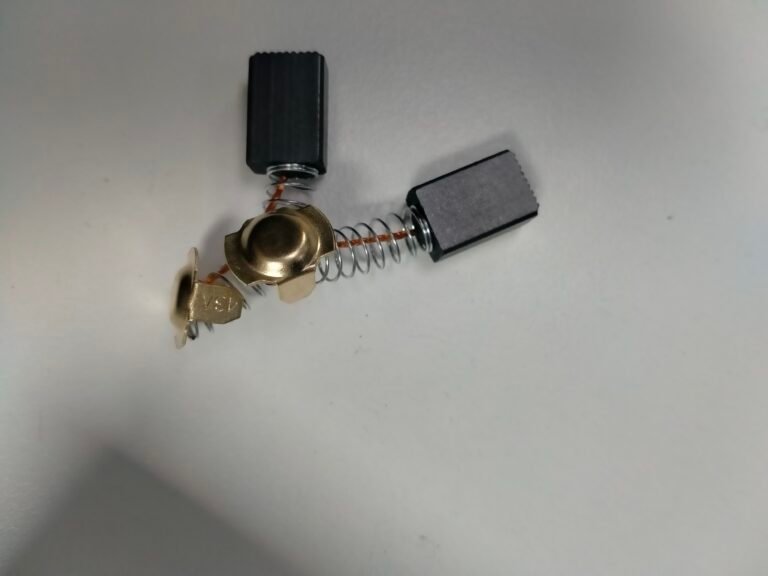
Insert the polished new carbon brush into the brush slot accurately, align the wire and spring sheet, and check the tight contact state with the commutator by hand. Ensure the spring provides even outward thrust to press the carbon brush tightly against the copper surface without tilting or shifting. After placement, lightly push the carbon brush inward and release it; it should rebound smoothly under spring force, proving no jamming inside the slot and normal elastic pressure. Poor alignment here is the most common reason for post-replacement power drop.
Put back the carbon brush cover and tighten the fixing screws moderately instead of locking them completely at one time. Over-tightening the plastic cover will crack the shell thread, while too loose screws will make the cover shake under vibration and cause carbon brushes to shift during breaking work. Leave a tiny adjusting margin for the screws first, and after finishing idle debugging, tighten them evenly to a proper tightness, balancing fixation strength and shell protection.
Post-Replacement Debugging and Critical Reminders
Carry out 3 to 5 minutes of idle running-in immediately after reassembling all components to observe spark changes and motor running status. The running-in phase allows the polished curved surface of new carbon brushes to fit the commutator more closely, eliminating temporary unstable contact caused by incomplete fitting. Operators should stand aside during idle testing and avoid putting hands near rotating parts, listening for abnormal friction noise while watching spark conditions at the carbon brush window for real-time judgment of installation quality.
Master the standard spark judgment standard to quickly identify hidden faults after replacement. A small amount of faint blue sparks around the carbon brush contact point belongs to the normal working state of brushed motors, which does not affect continuous use. If large areas of bright orange-red sparks appear continuously, accompanied by burning odor, power must be cut off instantly for re-inspection. Common causes of abnormal sparking include mismatched carbon brush models, deformed springs and uncleaned carbon dust left in the brush slot.
Set up a regular inspection cycle for carbon brushes to avoid sudden mid-project motor failure. It is suggested to check the remaining length of carbon brushes every 50 cumulative working hours of the demolition hammer. When the carbon brush wears down to 5 to 6 millimeters, replace a new pair in time without continuing operation. Overly short carbon brushes will lose spring compression force, scratch the commutator severely and bring expensive motor maintenance costs that far exceed the price of spare carbon brushes.
Pay attention to model differences during all disassembly and replacement operations to avoid blind universal operation. Different brands and series of demolition hammers have different brush cap positions, spring structures and disassembly sequences; some lightweight lithium electric hammers adopt integrated brush holders that cannot be disassembled the same way as wired heavy models. It is recommended to read the official product manual matching the tool model before starting maintenance, and follow exclusive operation steps provided by manufacturers to prevent unnecessary component damage.
Supplementary Q&A
Q: Do I need to replace both carbon brushes at the same time even if only one is worn short?
A: Yes, always replace two carbon brushes as a matching pair. Using one new and one worn brush will cause asymmetric contact pressure on both sides of the commutator, leading to uneven wear and persistent large sparks within a short working time.
Q: Why do heavy sparks still appear after I install brand-new carbon brushes?
A: The three most frequent reasons are unpolished flat brush surfaces, residual carbon dust inside brush slots, and deformed elastic springs unable to provide enough compression. Clean the slot, re-polish the arc surface and check spring status one by one to solve the problem.
Q: Can I skip the idle running-in step after carbon brush replacement and start breaking concrete directly?
A: It is not recommended. Direct heavy load operation without running-in will produce strong concentrated sparks, scratch the smooth surface of the commutator and accelerate premature wear of new carbon brushes. Short-time idle grinding is a necessary protective step.
Final Verdict
Carbon brush replacement is a basic low-cost daily maintenance task for all brushed demolition hammers, and most motor sparking and insufficient power faults can be solved by following standardized safety preparation, polishing installation and post-test steps. Always prioritize power cut-off before disassembly, use fully model-matched original carbon brushes, and stick to the 50-hour regular inspection cycle to avoid irreversible damage to the motor commutator. Skipping cleaning, polishing or running-in steps will lead to repeated malfunctions shortly after replacement; following the complete workflow above can maximize carbon brush service life and maintain stable motor performance in long-term construction work.
Demolition Hammer & Rotary Hammer for Sale
Demolition Hammer Rotary Hammer Blog
Angle
Diamond Blade

Welcome to call us
Contact Us to get quotation
Working Time: 8:00~17:00 Monday to Friday.
Applications:

Factory:
FAQ
Welcome to call us
Contact Us to get quotation
Working Time: 8:00~17:00 Monday to Friday.