How to remove stuck nut on blender blade?

How to remove stuck nut on blender blade?
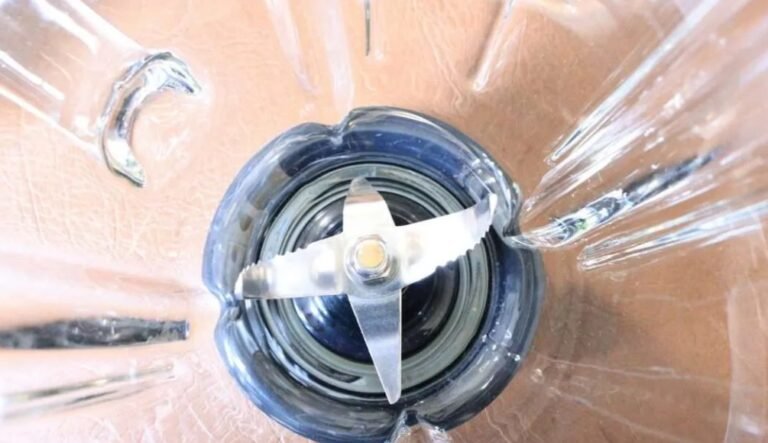
Adequate pre-disassembly safety preparation, progressive physical loosening, lubrication penetration, thermal expansion, and professional breaking techniques can all safely and completely remove stuck nuts from blender blades. Standard thread cleaning and reinstallation are then necessary to preserve the screw structure and prevent recurrent jamming in small blender operating spaces. Long-term high-load extrusion deformation, metal rust oxidation, and dried food residue adhesion are the main causes of the blade fixing nut’s propensity to stick and lock after prolonged operation. In addition to ensuring proper nut removal, using progressive and targeted disassembly approaches in accordance with various sticking causes may also effectively safeguard the original screw structure and prolong the service life of blender accessories.
Complete Safety Preparation Prior to Disassembly
The main safety assurance for all stuck nut disassembly operations is complete power-off protection. Users must fully disconnect the blender power supply and unhook the power cord to shut off the equipment power loop before attempting any loosening and disassembly procedures. All leftover food particles, sticky pulp, and debris must be removed from the blending cavity in the meantime. In addition to preventing material splashing and blade scratching, this step removes the possibility of unintentional machine restart during manual operation and establishes a clean and secure working environment for any subsequent nut disassembly tasks.
Stable and secure disassembly operation is ensured by thorough tool preparation and the use of personal protection equipment. Users must prepare certain instruments, such as a size-matched wrench, small hand hammer, kerosene or professional rust removal lubricant, small spray torch, anti-slip rubber pad, and nut splitter, because of the blender’s tight internal operating space. In order to avoid hand abrasion, injuries from metal debris, and high-temperature scalding during hammering, heating, and breaking operations, wear-resistant protective gloves and safety eyewear during the entire procedure. In addition to successfully protecting the blender thread structure, complete tool preparation can prevent forced operation brought on by tool mismatch.
Effective disassembly is based on cause evaluation and targeted pre-inspection. Users must thoroughly inspect the blade nut’s stuck condition prior to formal operation in order to precisely identify the sticking cause. Food residue adhesion and metal rust locking are the two main categories of nut jams. While rust-locked nuts require a combination of lubrication, vibration, and even heating treatment, nuts stuck by food dirt merely need to be penetrated and loosened. Precise pre-judgment can help users choose the best disassembly plan, cut out pointless steps, and increase the success rate of nut removal while safeguarding equipment components.
How to Disassemble Stuck Blade Nuts Step-by-Step
For nuts that are slightly stuck owing to superficial rust and residue, the basic vibration loosening approach is the best option. In contrast to blind reverse forced twisting, this progressive technique can successfully remove the coating of hardened rust without causing any harm to the thread. In order to loosen the jammed nut, users must first gently twist it one quarter turn in the initial tightening direction, then gently reverse it. They must then repeat the forward and backward twisting motion multiple times. The rust coating and any remaining dirt trapped in the thread gap may be broken and loosened by this reciprocating vibration.It is necessary to control the tapping force steadily and avoid hitting the nut edge violently to prevent nut deformation and thread damage.
The lubrication penetration method works well for nuts that are tightly threaded and have noticeable rust buildup. Apply a suitable quantity of kerosene or special rust removal lubricant uniformly into the small spaces between the nut and the screw rod following the initial vibration treatment. The old, hardened rust layer and sticky food residues can be completely dissolved and softened by the penetrating liquid as it gradually seeps into the thread gaps. To guarantee full penetration and responsiveness, users must allow the lubricant to stand for 20 to 30 minutes. To boost friction and stop the wrench from slipping and damaging the nut’s surface, wrap the nut in a rubber pad once it has completely softened.Then clamp the nut stably with a matched wrench and apply force slowly and evenly to rotate and take out the nut smoothly.
When traditional lubrication and vibration are unable to extract highly rusted and long-locked nuts, the thermal expansion loosening method is utilized. This technique separates the rust coating from the screw thread using the physical theory of metal heat expansion and contraction. In order to cause the metal nut to slightly expand and separate from the rust coating and screw rod, users must swiftly and uniformly heat the nut surface using a tiny spray torch. Always stay away from the blender’s plastic components while it’s heating up to avoid melting the cup body and sealing accessories. Once the nut has been heated evenly, hold the wrench firmly and swiftly unscrew it while it’s still hot.The expanded thread gap and separated rust layer can realize rapid and labor-saving disassembly.
When all other ways fail to break a nut that is completely locked and incredibly resistant, the expert nut breaking method is the last resort. To guarantee consistent stress, users must precisely place the nut splitter on the trapped nut and adjust the position to keep the tool flat and centered. To drive the cutting blade and fracture the nut uniformly, slowly press the splitter’s manual oil pump. To prevent excessive impact force from scratching and ruining the internal screw rod’s precision thread, carefully regulate the pressing force and operating speed during the breaking process. To fully disassemble the jammed nut, carefully remove the shattered nut pieces once the nut has fully cracked.
Maintenance Following Finishing and Reinstallation
The stability of a later reinstallation is ensured by thorough thread cleaning and rust prevention treatment. The surface of the screw rod thread will unavoidably still have dirt and rust after the stuck nut and shattered pieces have been removed. To restore the smooth and entire thread structure, users must thoroughly polish the thread surface with fine sandpaper to eliminate any remaining rust and contaminants. Apply a thin layer of anti-rust grease to the thread’s surface after it has been cleaned and dried to provide a protective layer that can successfully stop secondary rust and thread sticking by isolating moisture and air.
Repetitive nut jamming issues are prevented by standard replacement and consistent installation. Reusing the dismantled, rusted, and distorted old nuts is not advised. To guarantee precise thread matching and reliable locking performance, users must swap them out for new standard nuts that meet the same specifications. Keep the blade position flat when replacing the blade and nut, and use moderate force to tighten the new nut uniformly and steadily. To ensure flexible and regular nut removal and assembly in following daily maintenance, avoid applying excessive one-sided force that might cause thread deviation and local locking.
Supplementary Q&A
Q:Why twist the stuck nut forward slightly before loosening it backward?
A:Slight forward twisting and reciprocating vibration can break the hardened rust layer and compacted food residues in the thread gaps. This method loosens the tight fitting state first, avoiding direct reverse forced twisting that may scratch the thread or crack the nut.
Q:What key points should be noted when using the heating loosening method?
A:Users must heat the nut evenly and rapidly and stay away from all plastic blender parts to prevent high-temperature melting damage. The nut should be unscrewed immediately after heating while the metal is expanded to achieve the best loosening effect.
Q:How to prevent the blender blade nut from getting stuck again after repair?
A:Clean the screw thread thoroughly and apply anti-rust grease before reinstallation, replace with a new standard nut of the same specification, and tighten the nut evenly with balanced force. Regular daily cleaning of residual dirt can effectively avoid rusting and adhesion jamming.
Final Decision
In conclusion, consistent safety preparation and sequential hierarchical disassembly techniques are needed to remove a stuck blender blade nut. Different remedies must be matched based on the degree of adhesion, moderate rust locking, and severe tenacious jamming. Professional nut splitters are the last safe breaking method, thermal expansion treatment addresses severe rust locking, and vibration loosening and lubrication penetration safely resolve mild to moderate blocked nuts. In order to prevent repeated jamming faults and preserve the long-term stable disassembly and assembly performance of blender blade components, users can fully remove stuck nuts without harming blender threads and parts when combined with subsequent thread cleaning, anti-rust maintenance, and routine new nut replacement and installation.
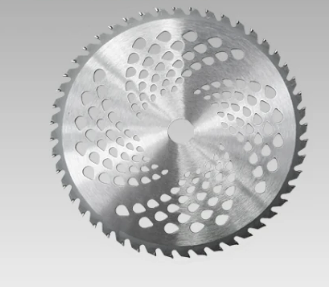
Blender Blade for Sale
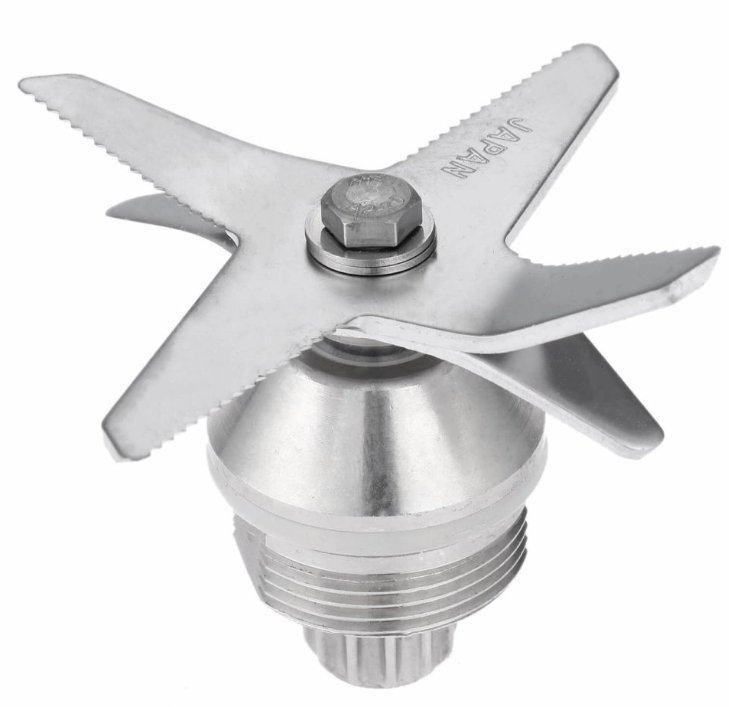
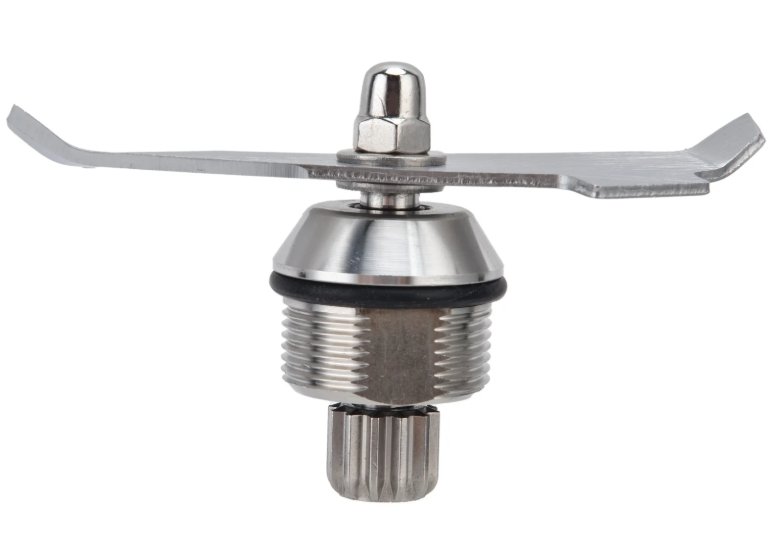
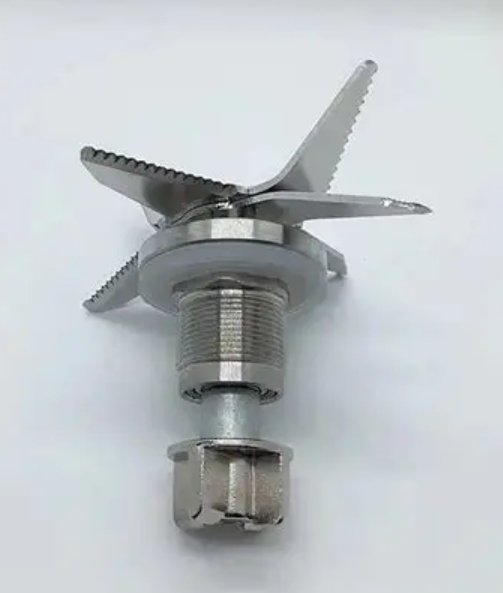
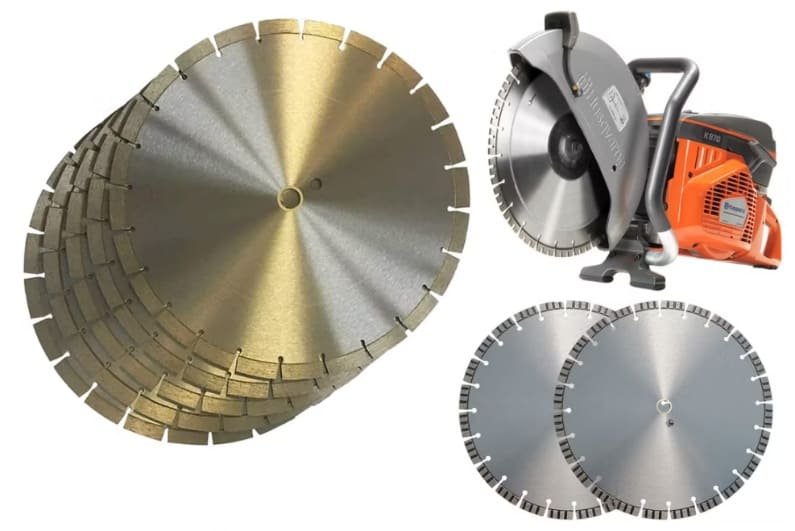
Diamond Blade for Sale

Demolition Hammer & Rotary Hammer for Sale
Angle
Welcome to call us
Contact Us to get quotation
Working Time: 8:00~17:00 Monday to Friday.
FAQ
Welcome to call us
Contact Us to get quotation
Working Time: 8:00~17:00 Monday to Friday.