How to chisel with a hammer drill?
How to chisel with a hammer drill?
How to chisel with a hammer drill? Chiseling with a hammer drill uses the tool’s high-impact, low-rotation hammer-only mode to break, chip, or carve hard materials like concrete, masonry, stone, and tile without drilling holes. This handy trick means you don’t need a separate demolition hammer for light to medium chiseling work, cutting down on equipment costs and job site clutter for both pro contractors and DIYers alike.
Proper chiseling technique makes material removal faster, cuts down on tool wear, and lowers the risk of you getting hurt or messing up the workpiece. Getting the hang of this process boils down to knowing what your hammer drill can do, picking the right accessories, and sticking to basic safety and operating best practices. We’ll break all of that down below.
Core Working Principle for Chiseling Operations
Chiseling with a hammer drill works via the tool’s electro-pneumatic or electromechanical impact mechanism, which delivers fast, linear percussive blows to the chisel shank at rates between 2,000 and 5,500 blows per minute (BPM), depending on the model. Unlike drilling mode, which mixes impact with rotational torque, chiseling mode turns off the rotation drive entirely, so all the motor’s power goes to forward impact force.
Impact energy per blow usually ranges from 1.5 joules for compact 18V cordless models to 10+ joules for heavy-duty corded units, and that number directly determines how fast you can remove material. The chisel concentrates all that impact force across a small cutting edge, creating tiny cracks in hard materials that spread with each subsequent blow to break off material cleanly.
Required Components and Their Functions
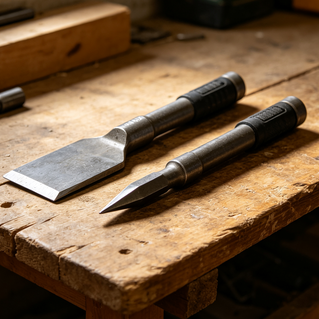
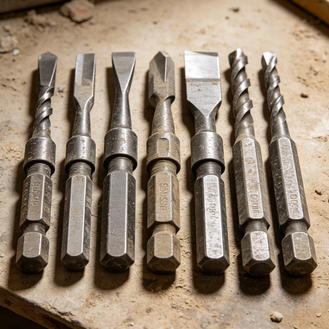
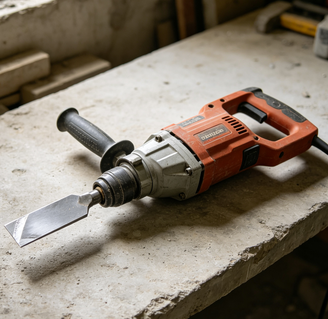
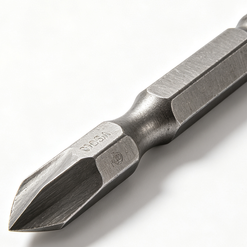
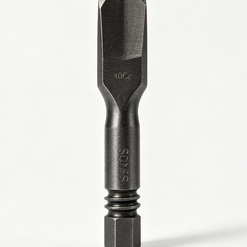
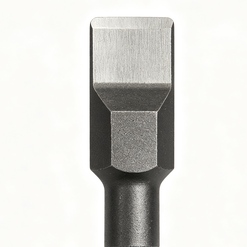
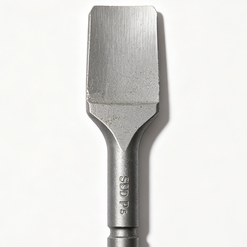
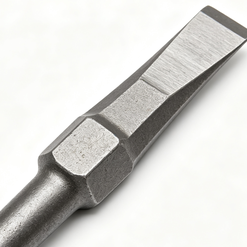
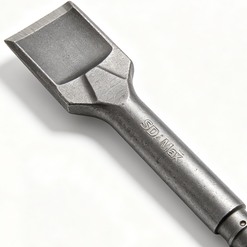
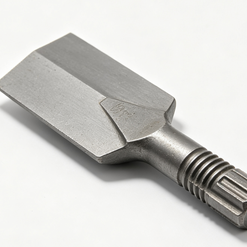
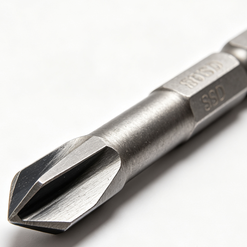
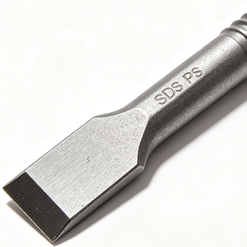
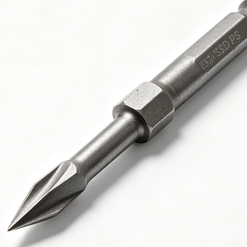
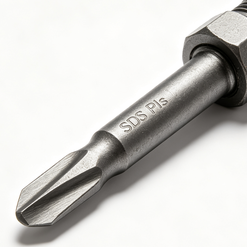
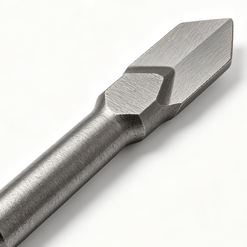
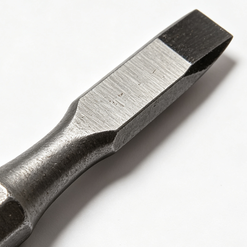
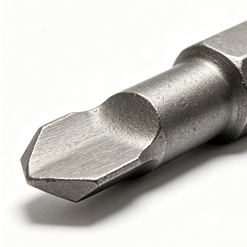
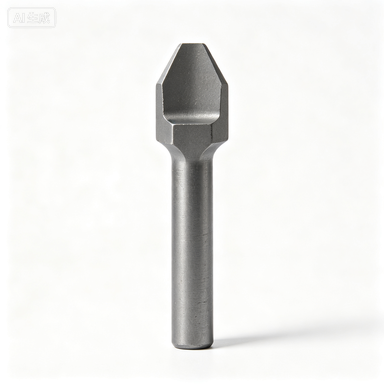
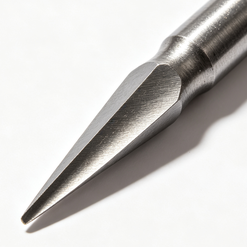
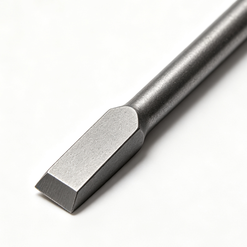
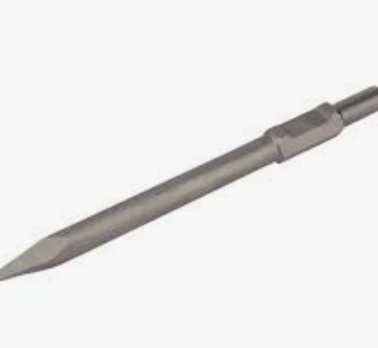
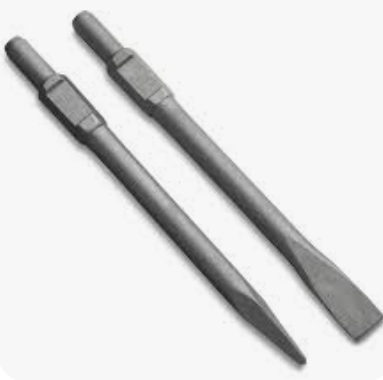
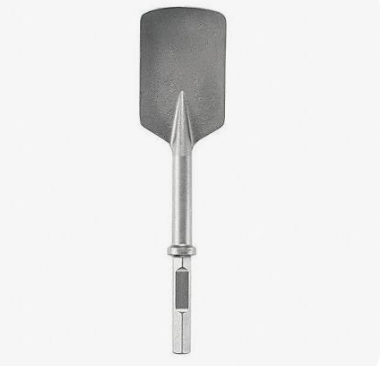
An SDS-Plus or SDS-Max shank chisel is non-negotiable for chiseling work. Standard smooth-shank drill bits can’t lock into the hammer drill’s chuck well enough to hold up to repeated impact, so they’ll fly out if you try to use them. Common chisel types include flat chisels for general material removal and surface scaling, point chisels for precision breaking and starting cracks, tile chisels with angled edges for lifting tile without damaging the subfloor underneath, and spade chisels for removing mortar across wide areas.
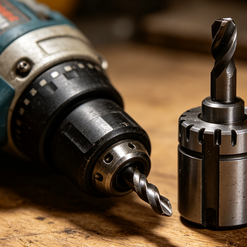
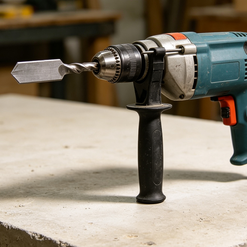
The hammer drill’s mode selector switch, usually a dial or lever on the tool’s housing, toggles between drilling, hammer drilling, and hammer-only modes. The chuck’s locking mechanism holds the chisel shank in place, and lets you rotate the chisel 360 degrees to adjust its angle without taking the accessory out. The auxiliary side handle gives you stable two-handed control while you’re working, too.
Compatible Material and Performance Specifications
Hammer drills are made for chiseling non-porous, brittle materials with a compressive strength of 2,000 psi or higher, including standard concrete, reinforced concrete (up to #4 rebar for heavy-duty models), brick, cinder block, natural stone, ceramic tile, and hardened mortar. They’re not good for chiseling soft materials like wood, drywall, or plastic, since the high impact force will tear or crush the workpiece instead of making clean cuts.
Light-duty 12V/18V cordless hammer drills deliver 1.5–3 joules of impact energy, which is fine for chiseling tile, thin mortar beds, and cinder block up to 2 inches thick. Mid-range corded models with 5–7 joules of impact energy handle 2–6 inch thick concrete and brick, while heavy-duty 8+ joule units can chisel reinforced concrete up to 12 inches thick for light demolition work.
Typical Application Scenarios
Chiseling with a hammer drill is used all the time in residential construction, renovation, and masonry work for tasks ranging from small repair jobs to medium demolition. Common uses include removing old tile and thinset from floors and walls during bathroom remodels, chipping out damaged mortar joints for tuckpointing, cutting notches in concrete slabs for pipe or electrical conduit runs, and breaking up small sections of concrete sidewalk or patio for repair.
In stoneworking and landscaping, hammer drills with point or flat chisels are used to carve and shape natural stone for retaining walls, decorative features, or custom countertops. For plumbing and electrical contractors, the tool is perfect for chiseling out chase holes in masonry walls to run wiring or drain lines without ruining the surrounding structural material.
Key Performance Advantages Over Alternative Tools
Compared to dedicated demolition hammers, hammer drills are way more portable and versatile, since you can switch them back to drilling or hammer drilling mode for other tasks like drilling anchor holes right after you finish chiseling. Most mid-weight hammer drills weigh 5–8 pounds, which is 30–50% less than entry-level demolition hammers, so you won’t get as tired during extended overhead or vertical chiseling work.
They’re less powerful than large demolition hammers, sure, but hammer drills give you way more precision for detail work. Their lower impact energy lets you control material removal depth within 1/8 of an inch, which is a game-changer for delicate jobs. They also have a smaller footprint, so they’re easier to maneuver in tight spaces like inside cabinets, between wall studs, or in small bathroom alcoves where larger demolition tools can’t fit.
Chisel and Tool Selection Criteria
First, match the chisel shank type to your hammer drill’s chuck: SDS-Plus shanks are standard for compact and mid-sized drills with impact energy up to 7 joules, while SDS-Max shanks are required for heavy-duty models with 8+ joules of impact energy to stop the shank from breaking. For general material removal, start with a 1-inch wide flat chisel; use a 3/8-inch point chisel for precision work, and a 2-inch wide spade chisel for removing tile or mortar across large areas.
Pick a hammer drill with at least 2.5 joules of impact energy if you plan to do chiseling regularly. Models with lower impact will be painfully slow and prone to overheating. For cordless models, go for a high-capacity 5.0Ah or larger lithium-ion battery to get 20–30 minutes of continuous chiseling runtime per charge. Variable speed impact control is a nice feature to have, too, since it lets you lower the BPM for delicate work on soft stone or thin tile.
Step-by-Step Operating Procedure
Start by putting on the right personal protective equipment (PPE): ANSI Z87.1 impact-resistant goggles, an N95 respirator to block silica dust, noise-canceling earmuffs (hammer drills put out 95–110 dB of noise during chiseling, which is loud enough to damage your hearing over time), and heavy-duty work gloves. Inspect the chisel for cracks, bent shanks, or dull edges; damaged chisels can shatter under impact, which is a huge safety risk.
Insert the chisel into the chuck until it locks into place, then rotate the mode selector to hammer-only mode. Adjust the auxiliary handle to a position that lets you grip the tool with both hands, with your dominant hand on the main handle near the trigger and your non-dominant hand on the auxiliary handle. Hold the chisel at a 15–30 degree angle to the workpiece surface, not straight up and down, so broken material can clear the cutting edge as you work.
Apply firm, steady forward pressure—don’t force the tool, since that will reduce impact efficiency and make the motor overheat—and squeeze the trigger to start. Move the chisel slowly across the workpiece in 2–3 inch passes, pausing every 10–15 seconds to brush broken debris out of the work area. For deep cuts, make multiple shallow passes instead of trying to remove all the material in one go, to avoid binding the chisel or damaging the tool.
Maintenance Best Practices for Chiseling Use
After each chiseling session, wipe down the chisel shank and the hammer drill’s chuck interior with a clean, dry cloth to remove dust and debris. All that grit can wear out the chuck’s locking mechanism way faster than normal if you leave it build up. Apply a thin coat of dry lubricant to the chisel shank before each use to cut down on friction and stop it from seizing inside the chuck.
Check the tool’s motor vents once a month to make sure they’re clear of dust buildup, which can cause overheating during long chiseling sessions. For corded models, inspect the power cord for fraying or damage before every use, and for cordless models, store batteries in a cool, dry place between 50°F and 70°F to make them last as long as possible.
Sharpen chisel edges regularly with a bench grinder or diamond file. Dull edges reduce material removal efficiency by 30–40% and put extra stress on the hammer drill’s impact mechanism. Replace chisels right away if they develop cracks, chips, or bent shanks, since damaged accessories can fail completely under impact and cause serious injury.
Common Misconceptions Cleared Up
Q: Can I use a standard smooth-shank masonry chisel with a regular keyless chuck for chiseling?
A: That’s an extremely dangerous thing to try. Standard keyless chucks don’t lock the shank in place, so the chisel will slip out of the chuck under repeated impact, and could hit you or damage whatever you’re working on. Only use SDS-Plus or SDS-Max shank chisels in a hammer drill with a compatible locking chuck for chiseling work.
Q: Higher pressure on the hammer drill makes chiseling faster.
A: Too much forward pressure actually makes chiseling slower, because it compresses the tool’s impact mechanism and stops it from delivering full-force blows to the chisel. It also puts extra strain on the motor, leading to overheating and early wear. Apply just enough pressure to keep the chisel in contact with the workpiece; let the tool’s impact mechanism do the hard work.
Q: Any hammer drill can be used for chiseling, regardless of its power rating.
A: Hammer drills with less than 1.5 joules of impact energy are made mostly for drilling, not chiseling. Using these models for extended chiseling will make the impact mechanism overheat and fail early, since they’re not built to handle continuous impact-only operation. Check your tool’s impact energy rating and manufacturer guidelines before using it for chiseling work.
Q: Chiseling mode can be used to cut through metal rebar embedded in concrete.
A: Standard masonry chisels aren’t made to cut hardened steel, and trying to chisel through rebar will chip or shatter the chisel edge, and can damage the hammer drill’s impact mechanism. If you run into rebar while chiseling, stop work and use an angle grinder with a cutoff wheel to cut through the rebar before you keep going.
Frequently Asked Questions
Q: How do I adjust the angle of the chisel during operation?
A: Most hammer drills let you rotate the chisel 360 degrees while it’s locked in the chuck. Just twist the chisel by hand to the angle you want before you start working; you don’t need to loosen or remove the chuck to make adjustments.
Q: How long can I run a hammer drill continuously during chiseling?
A: Most mid-range hammer drills are rated for 15–20 minutes of continuous chiseling before they need a 5-minute cool-down period. Heavy-duty industrial models can run for 30+ minutes straight. Check your tool’s manual for specific duty cycle ratings to avoid overheating it.
Q: What is the difference between a chisel for a hammer drill and a cold chisel for hand use?
A: Hammer drill chisels are made from hardened high-carbon steel with a precision-ground shank built to hold up to repeated high-velocity impacts, while hand cold chisels are made from softer steel that can deform or shatter when used in a power tool. Never use a hand cold chisel in a hammer drill.
Q: Can I use a hammer drill to chisel away old paint or texture from concrete walls?
A: Yes, use a wide 2–3 inch flat scaling chisel set to a low impact setting to remove paint, texture, or thin coatings without damaging the underlying concrete. Hold the chisel at a shallow 10–15 degree angle to the wall to avoid leaving pockmarks on the surface.
Q: How do I prevent the chisel from wandering when starting a precision cut?
A: First, make a small starter notch with a point chisel at your desired cut location to hold the chisel in place, then switch to a flat chisel to make the full cut. Use the lowest BPM setting when you start the cut to keep control until the chisel is seated in the material.
Final Summary
Chiseling with a hammer drill is a cost-effective, versatile solution for light to medium hard material removal tasks, as long as you use the correct SDS-type chisel, run the tool in hammer-only mode, and follow basic safety and operating procedures. Match your tool’s impact energy rating to the material thickness and scope of work, apply steady, moderate pressure while you’re working, and do regular maintenance on both the tool and chisels to keep them running efficiently for as long as possible. Always prioritize PPE to protect against silica dust, flying debris, and excessive noise, and never use incompatible accessories that create a safety risk.
Industrial fan for Sale:




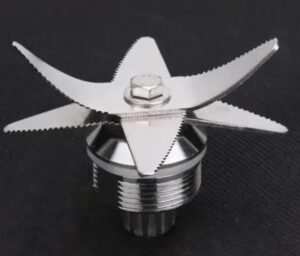
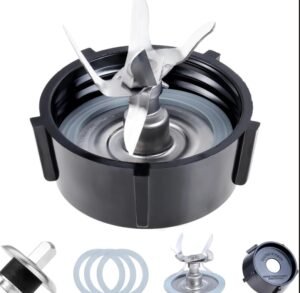
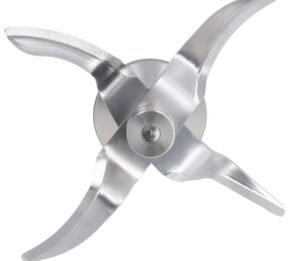
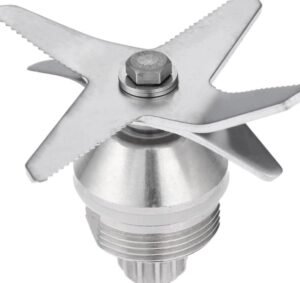
Blender Blade
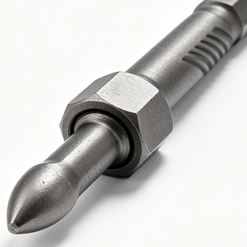
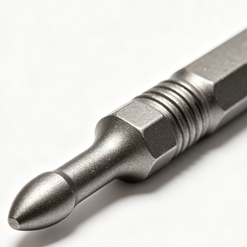
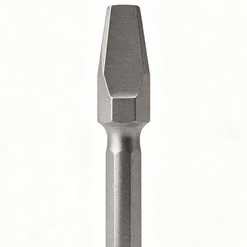
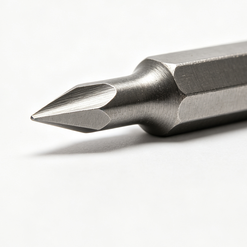
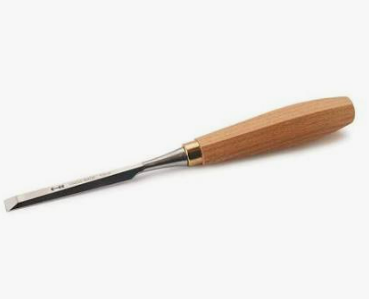
Chisel Bit for Sale
Core drill bit for Sale:
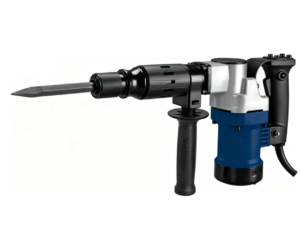
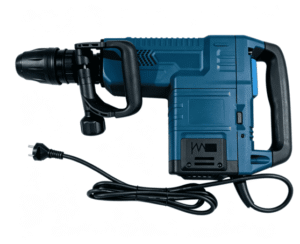
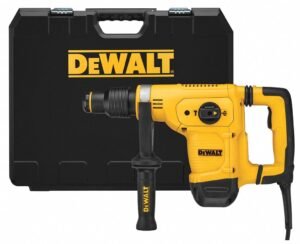
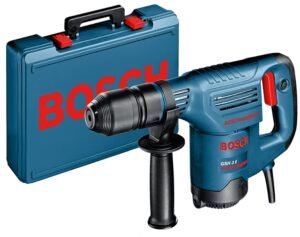
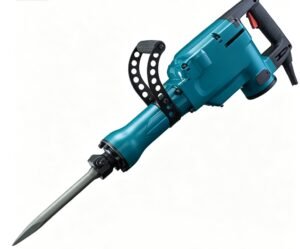
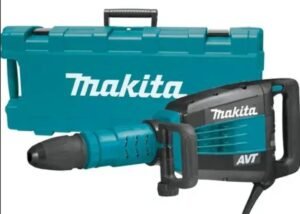
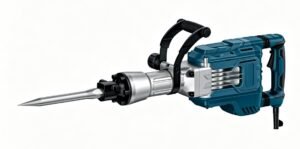
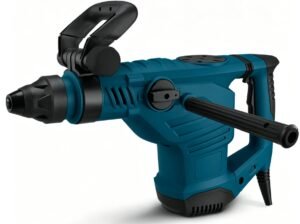
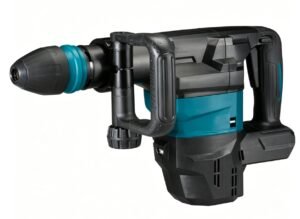
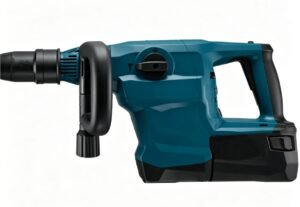
Rotary Hammer & Demolition Hammer for Sale:
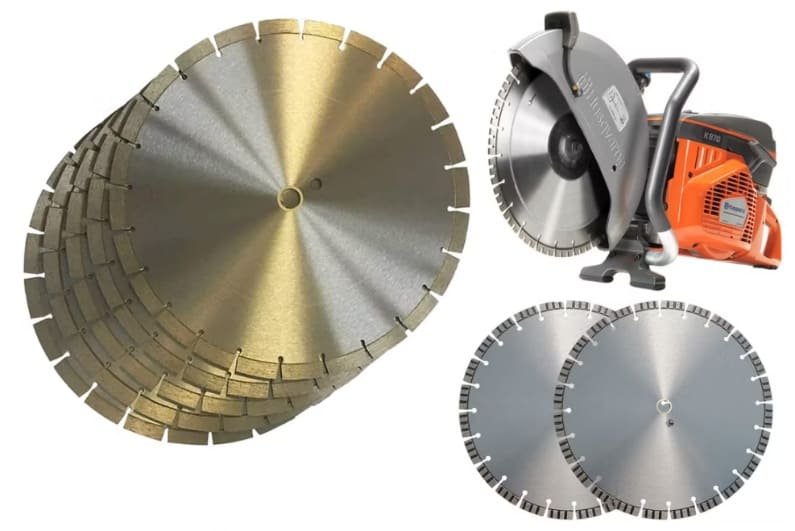
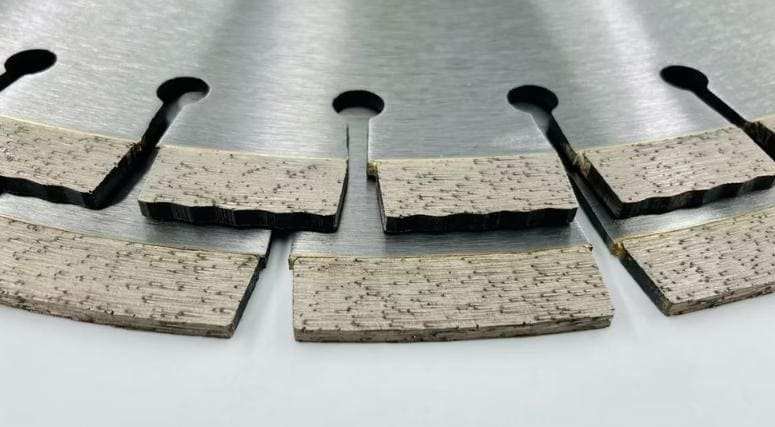
Diamond Blade

Welcome to call us
Contact Us to get quotation
Working Time: 8:00~17:00 Monday to Friday.
Applications:
Factory:
FAQ
Welcome to call us
Contact Us to get quotation
Working Time: 8:00~17:00 Monday to Friday.
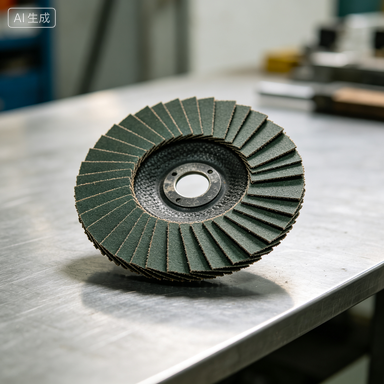
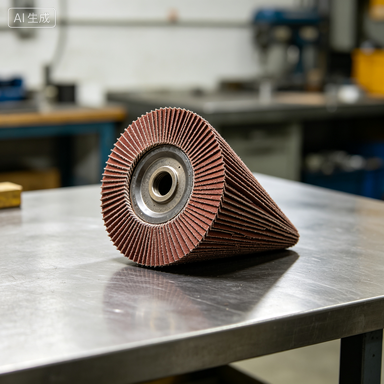
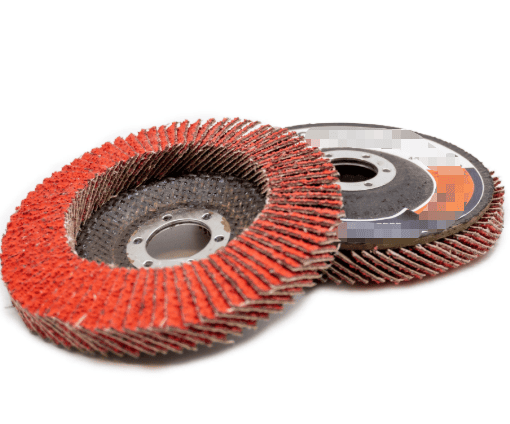
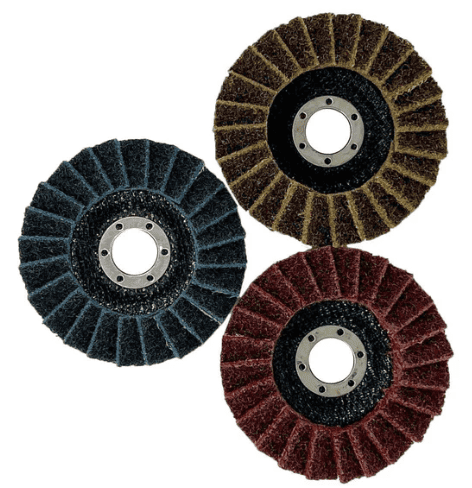
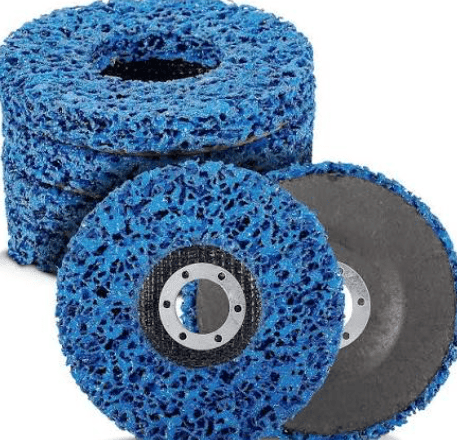
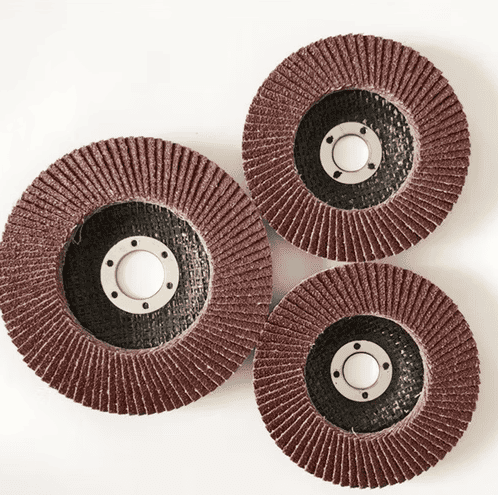
Flap Disc for Sale



Blogs:
You May also Interest in other topics:
sifter machine commercial sifter 11kw ev charger wollastonite grinding mill for refractory material vacuum capping machine